Visual inspection
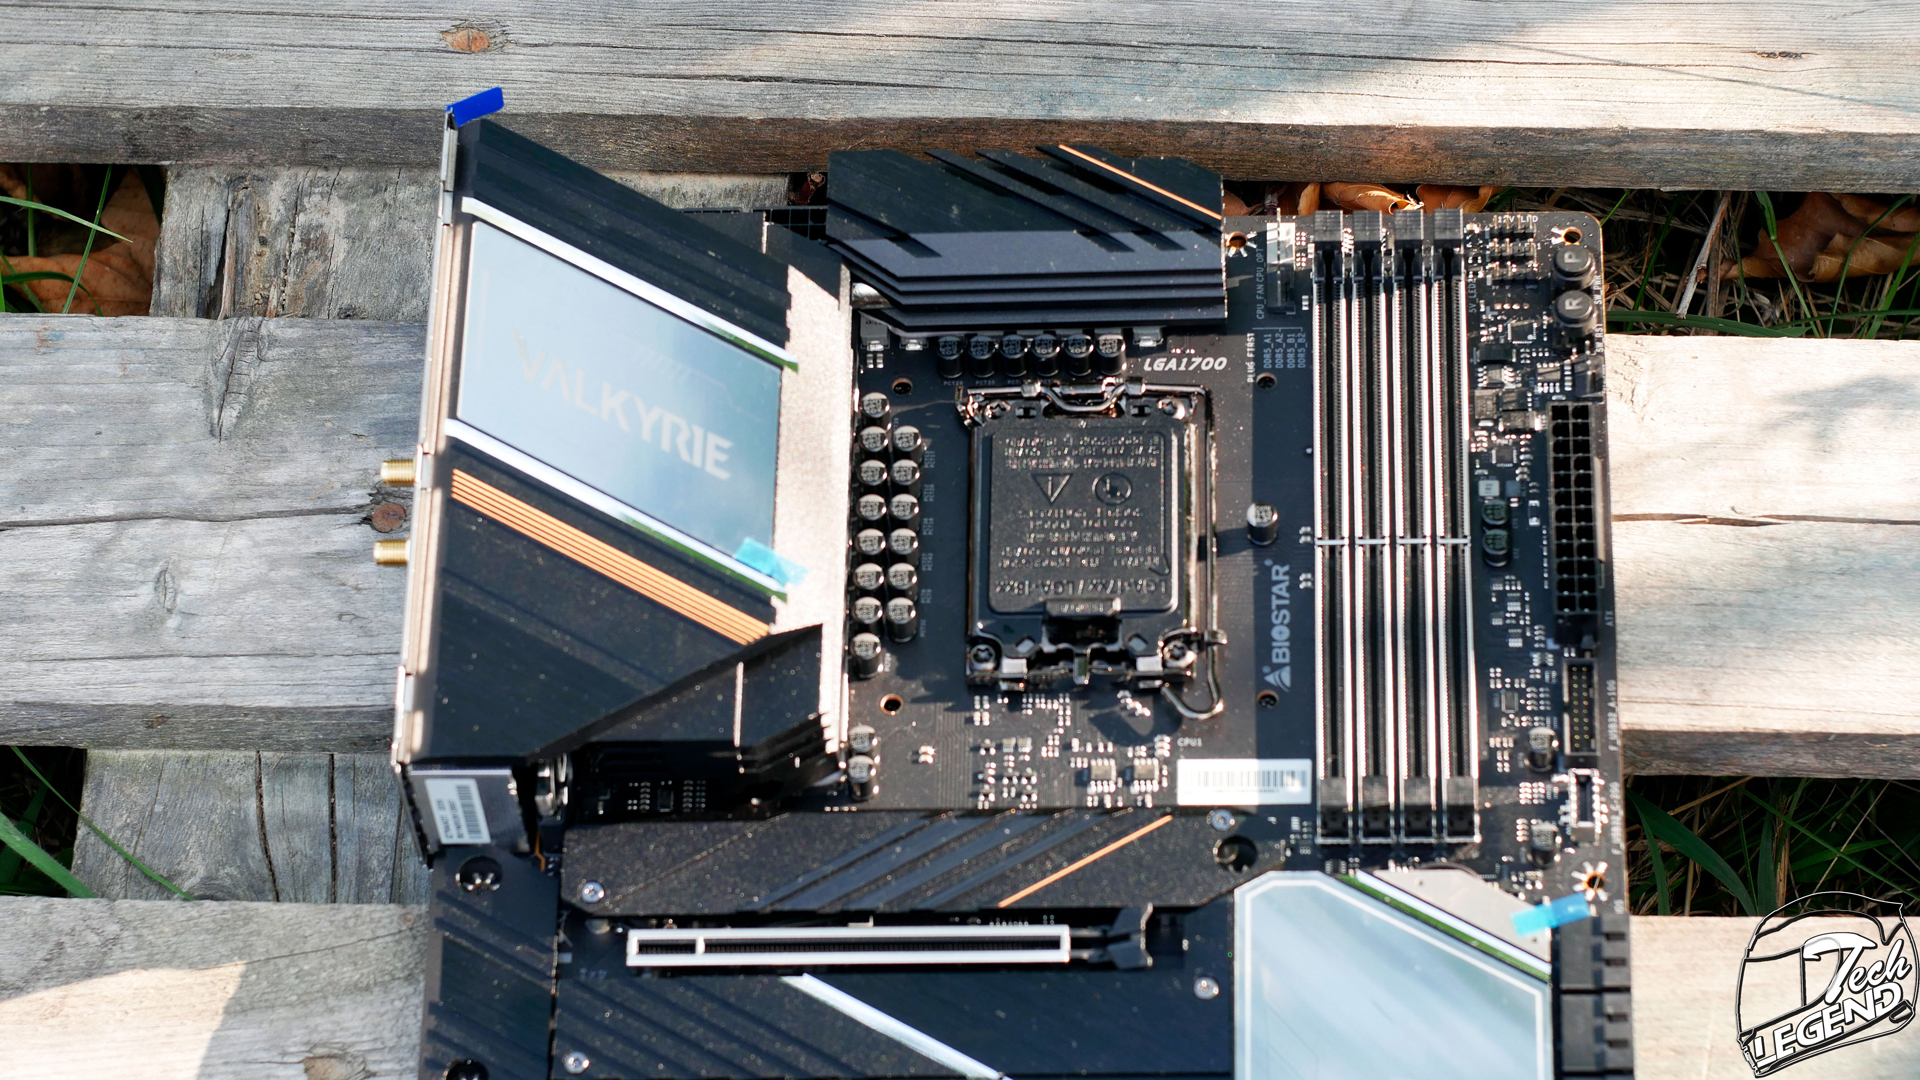
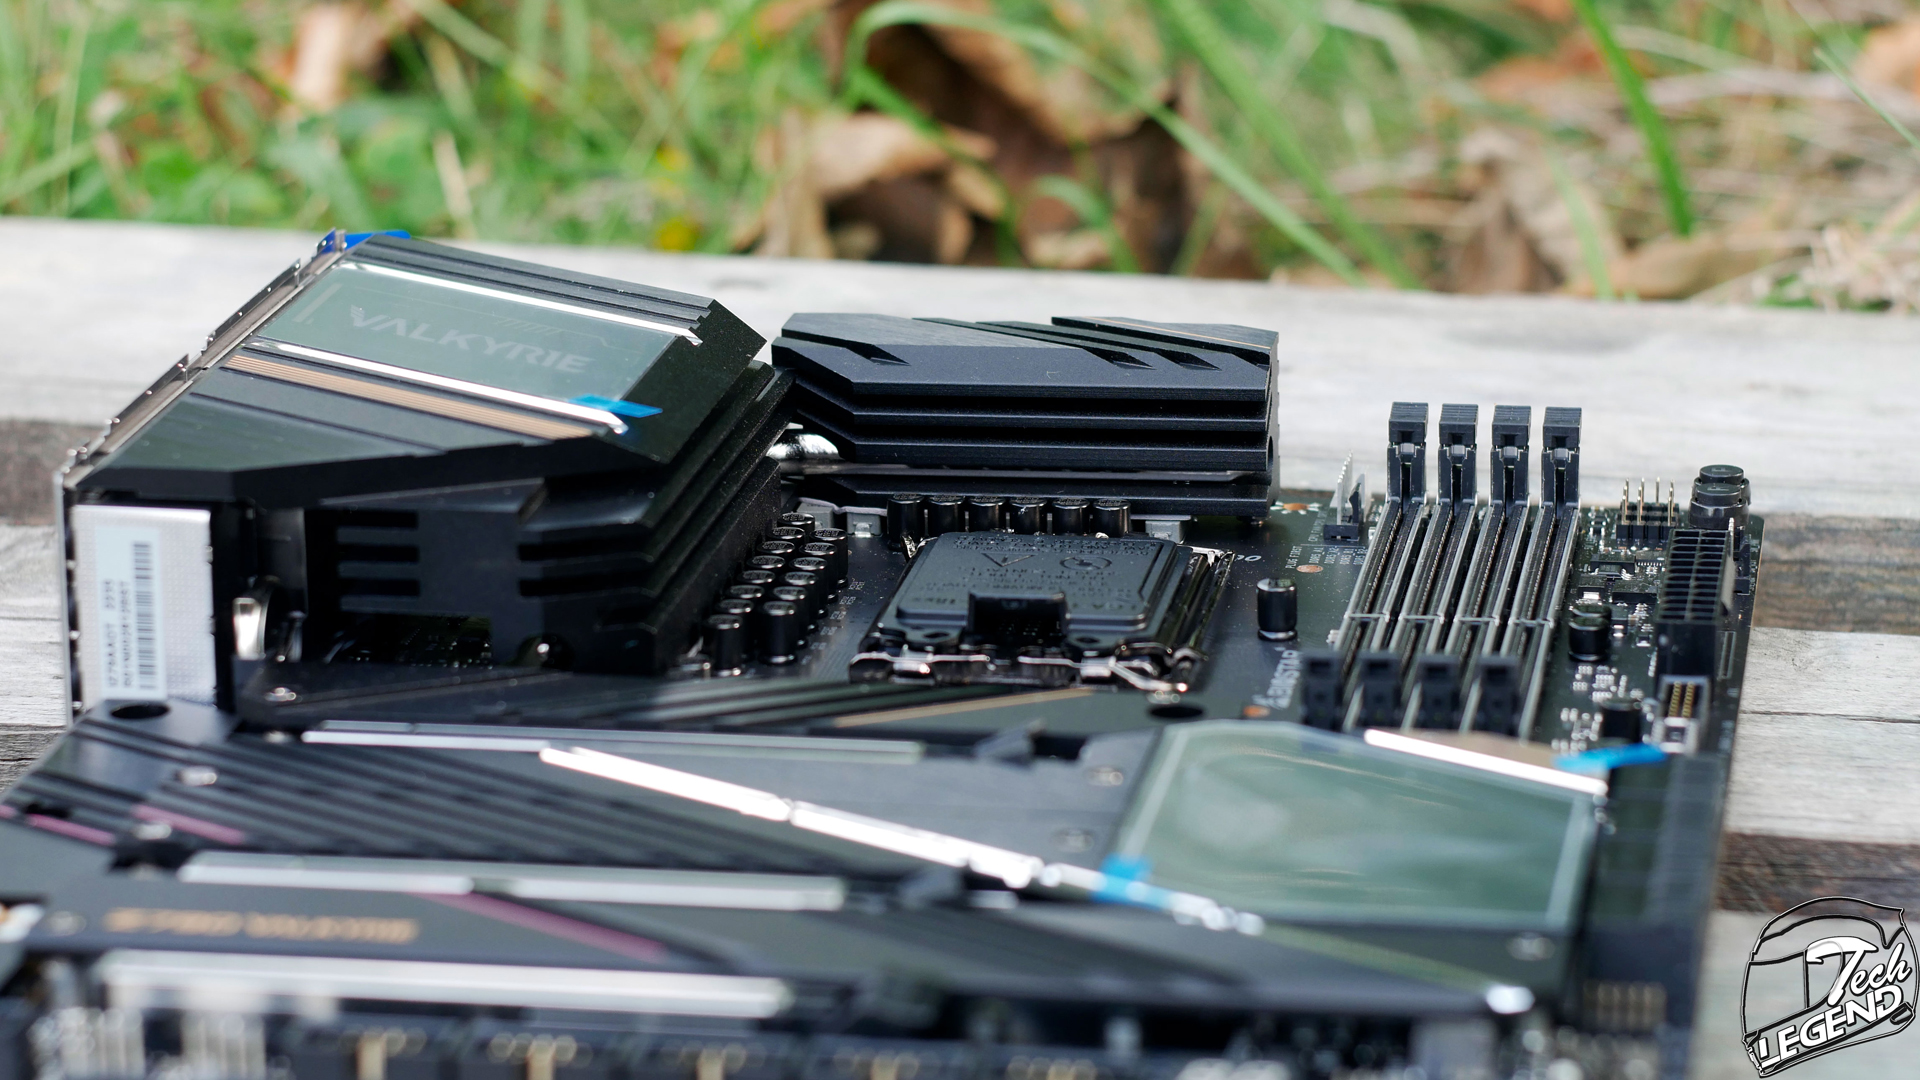
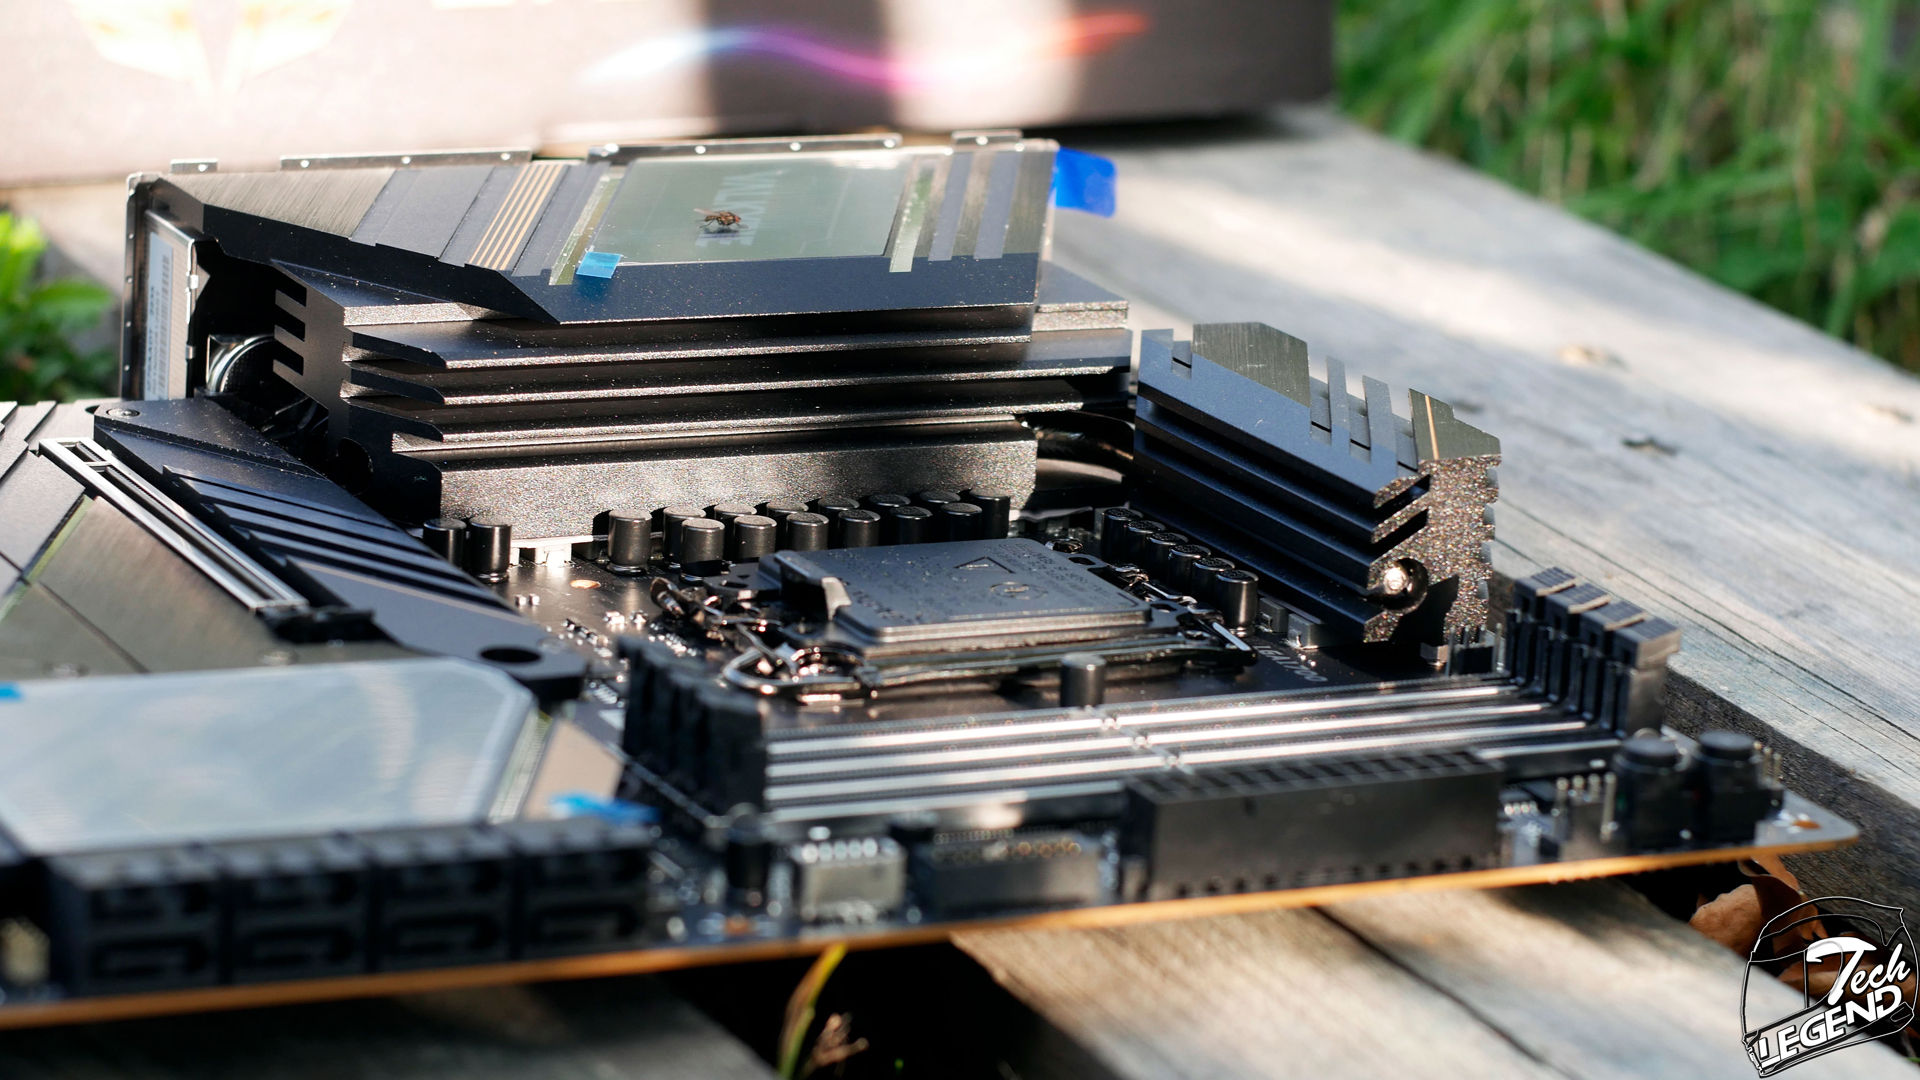
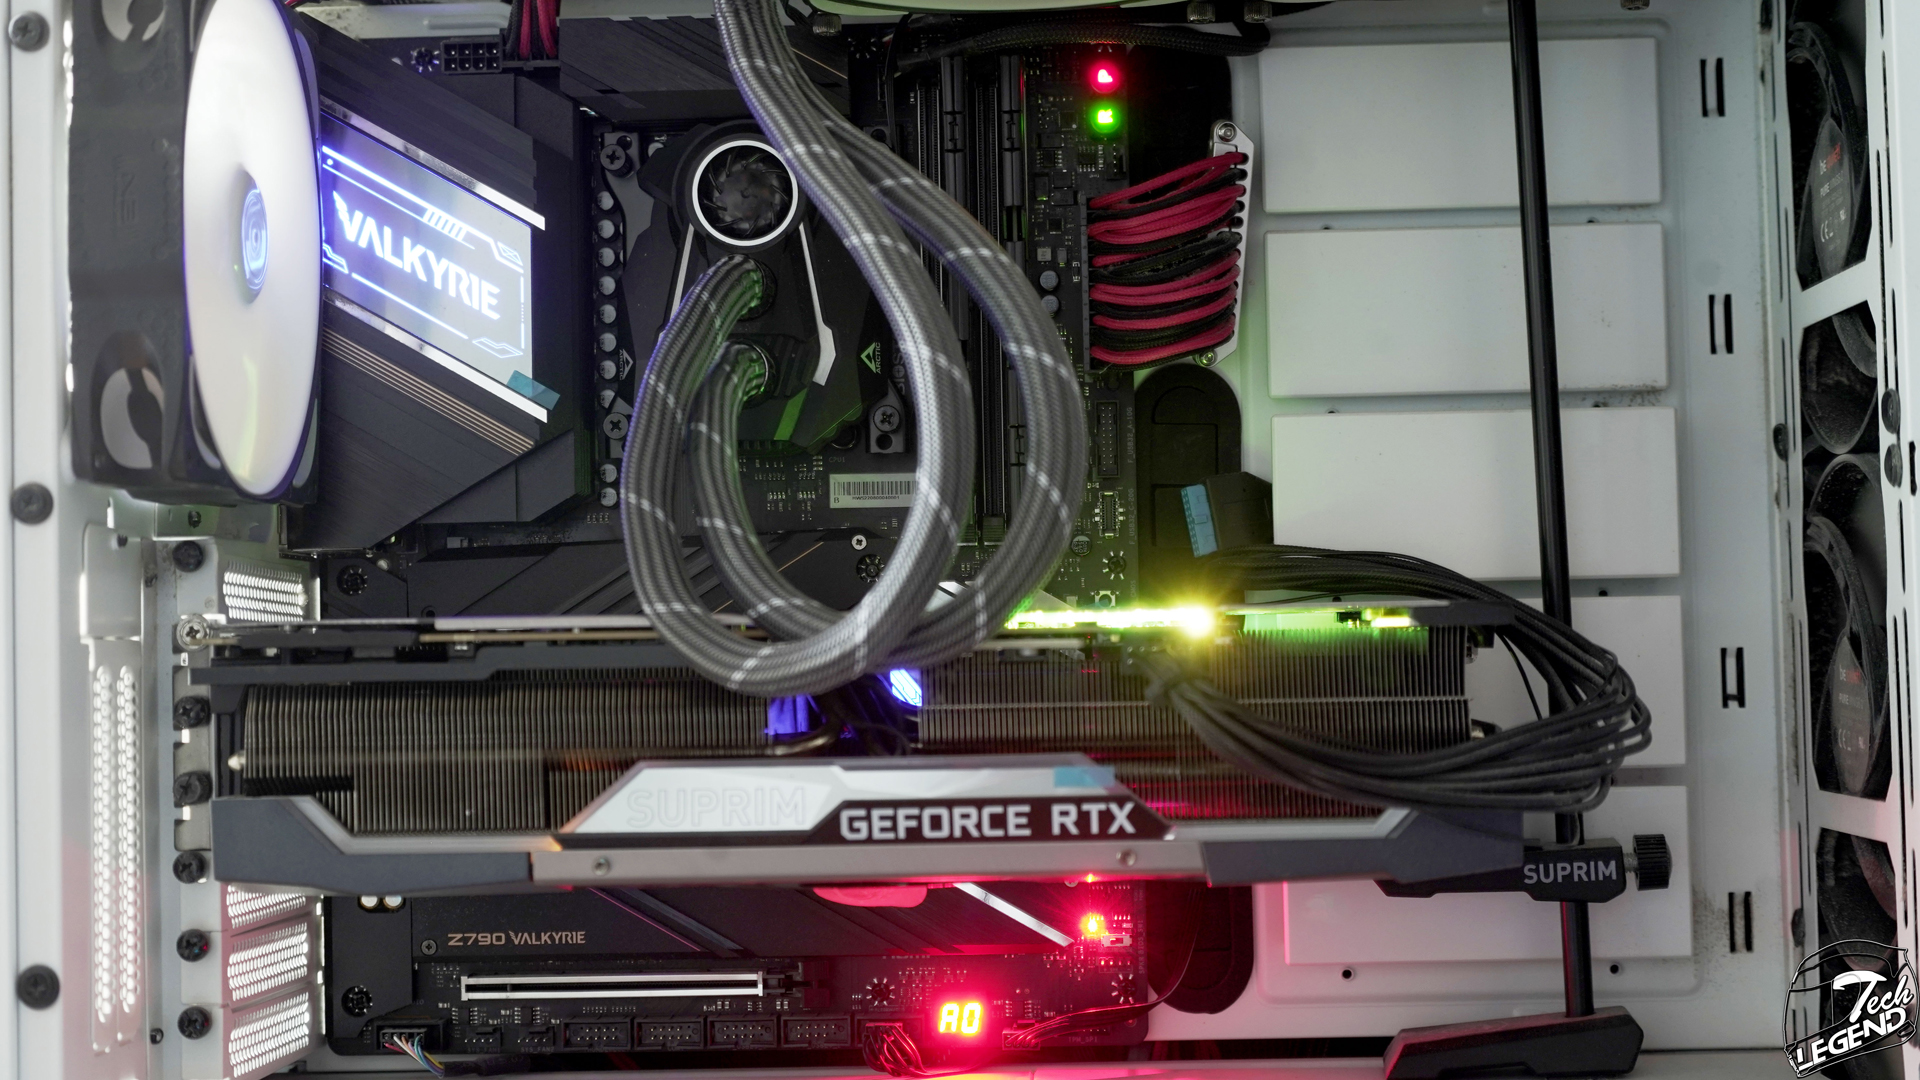
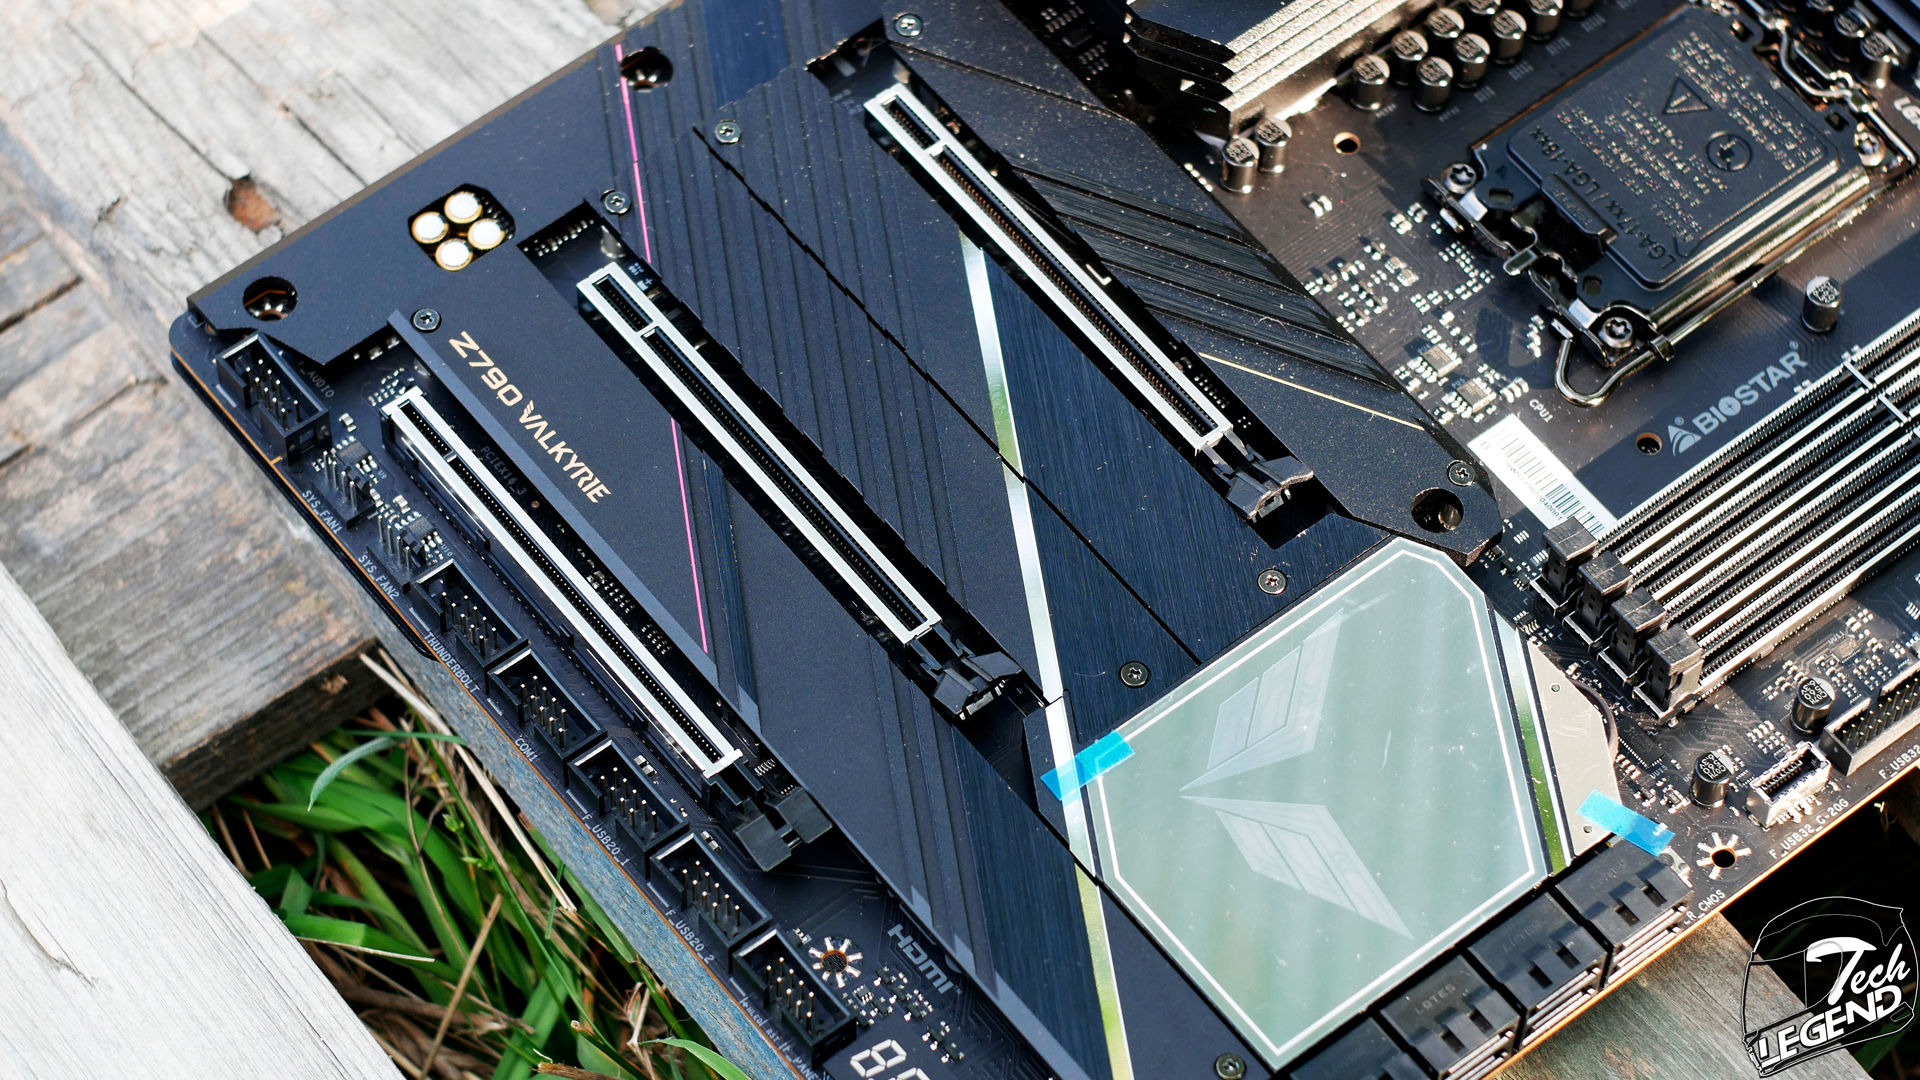
The Biostar Z790 Valkyrie has a good design, with a black PCB and silver and black heatsinks. The design of the heatsinks is angular, with grooves cut into the metal surface for better heat dissipation and to enhance the multicolored accents placed on them.
The design of this motherboard is different than the previous Biostar motherboards, even the high-end models from the GTA series. This makes sense as the Valkyrie is a new motherboard series and has a new design language.
The dimensions of the Z790 Valkyrie are the standard ATX Form factor: 30.5cm x 24.4cm.


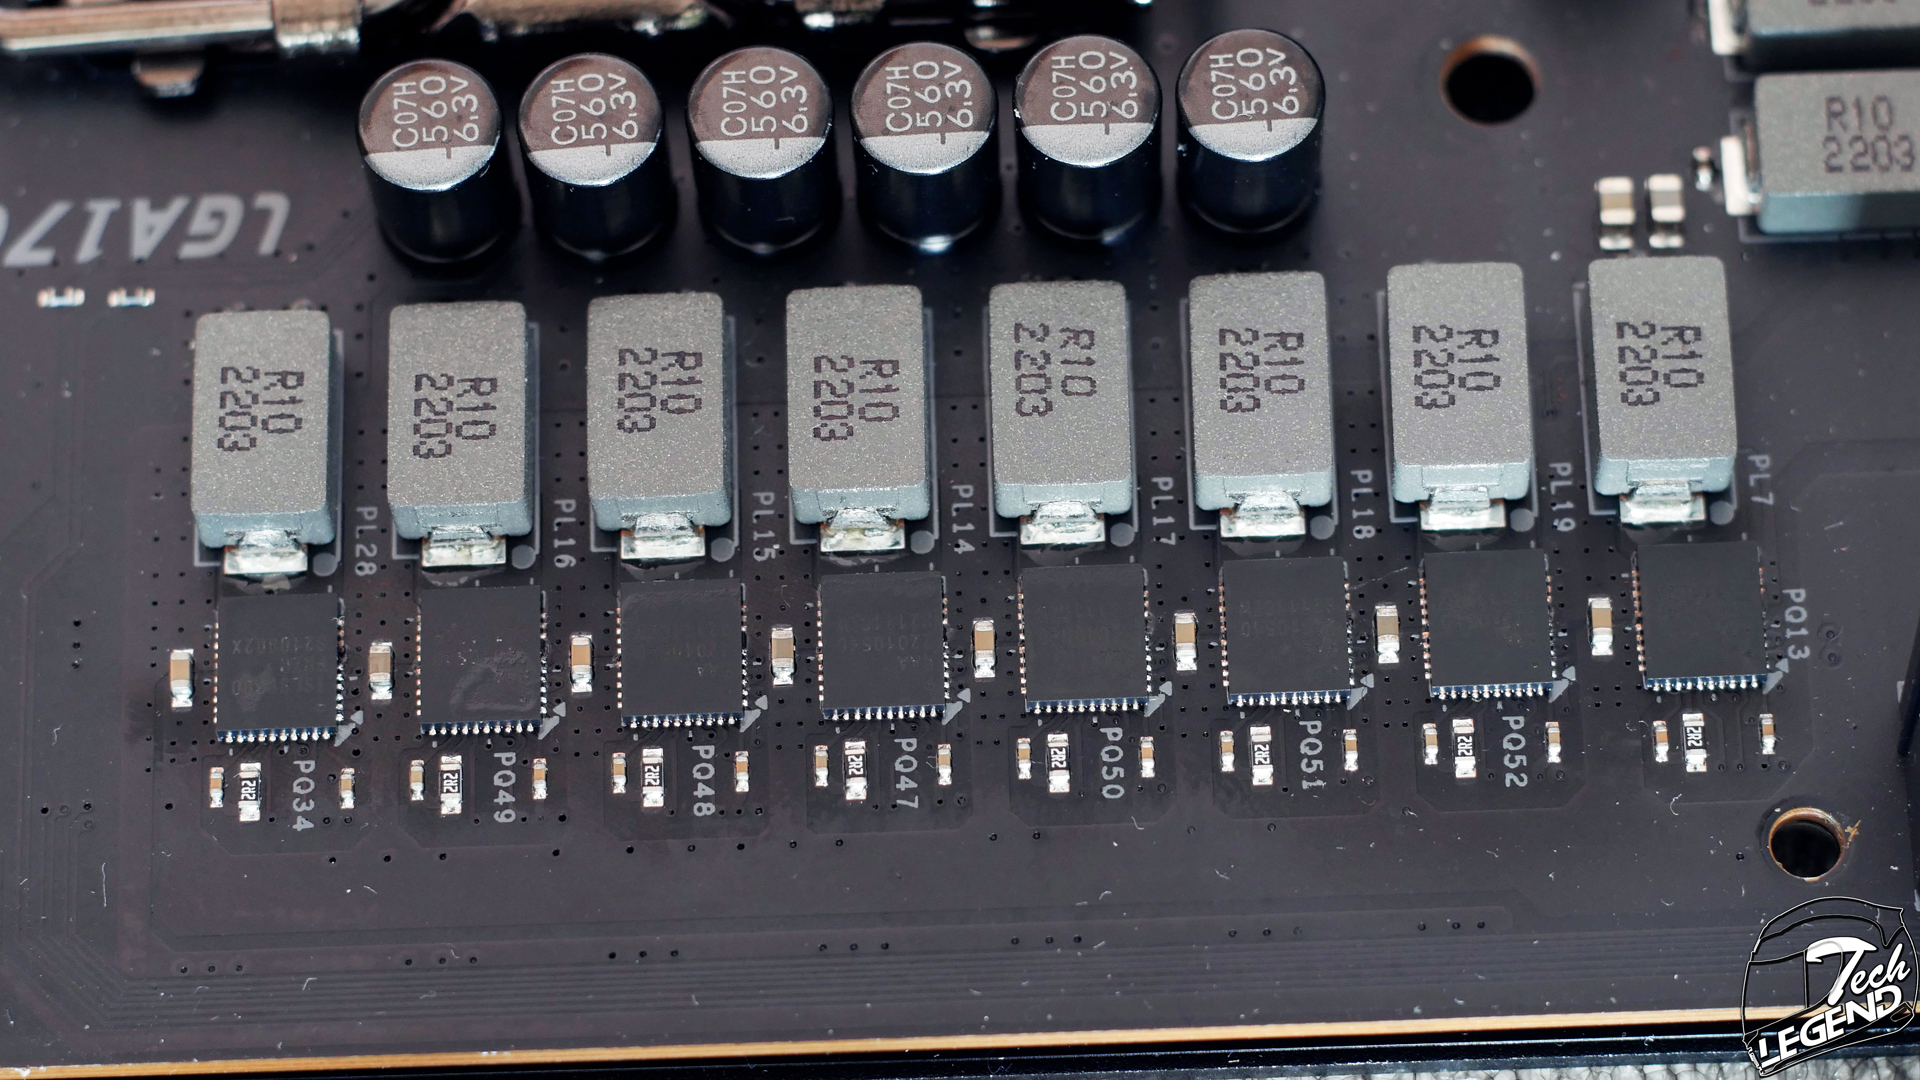
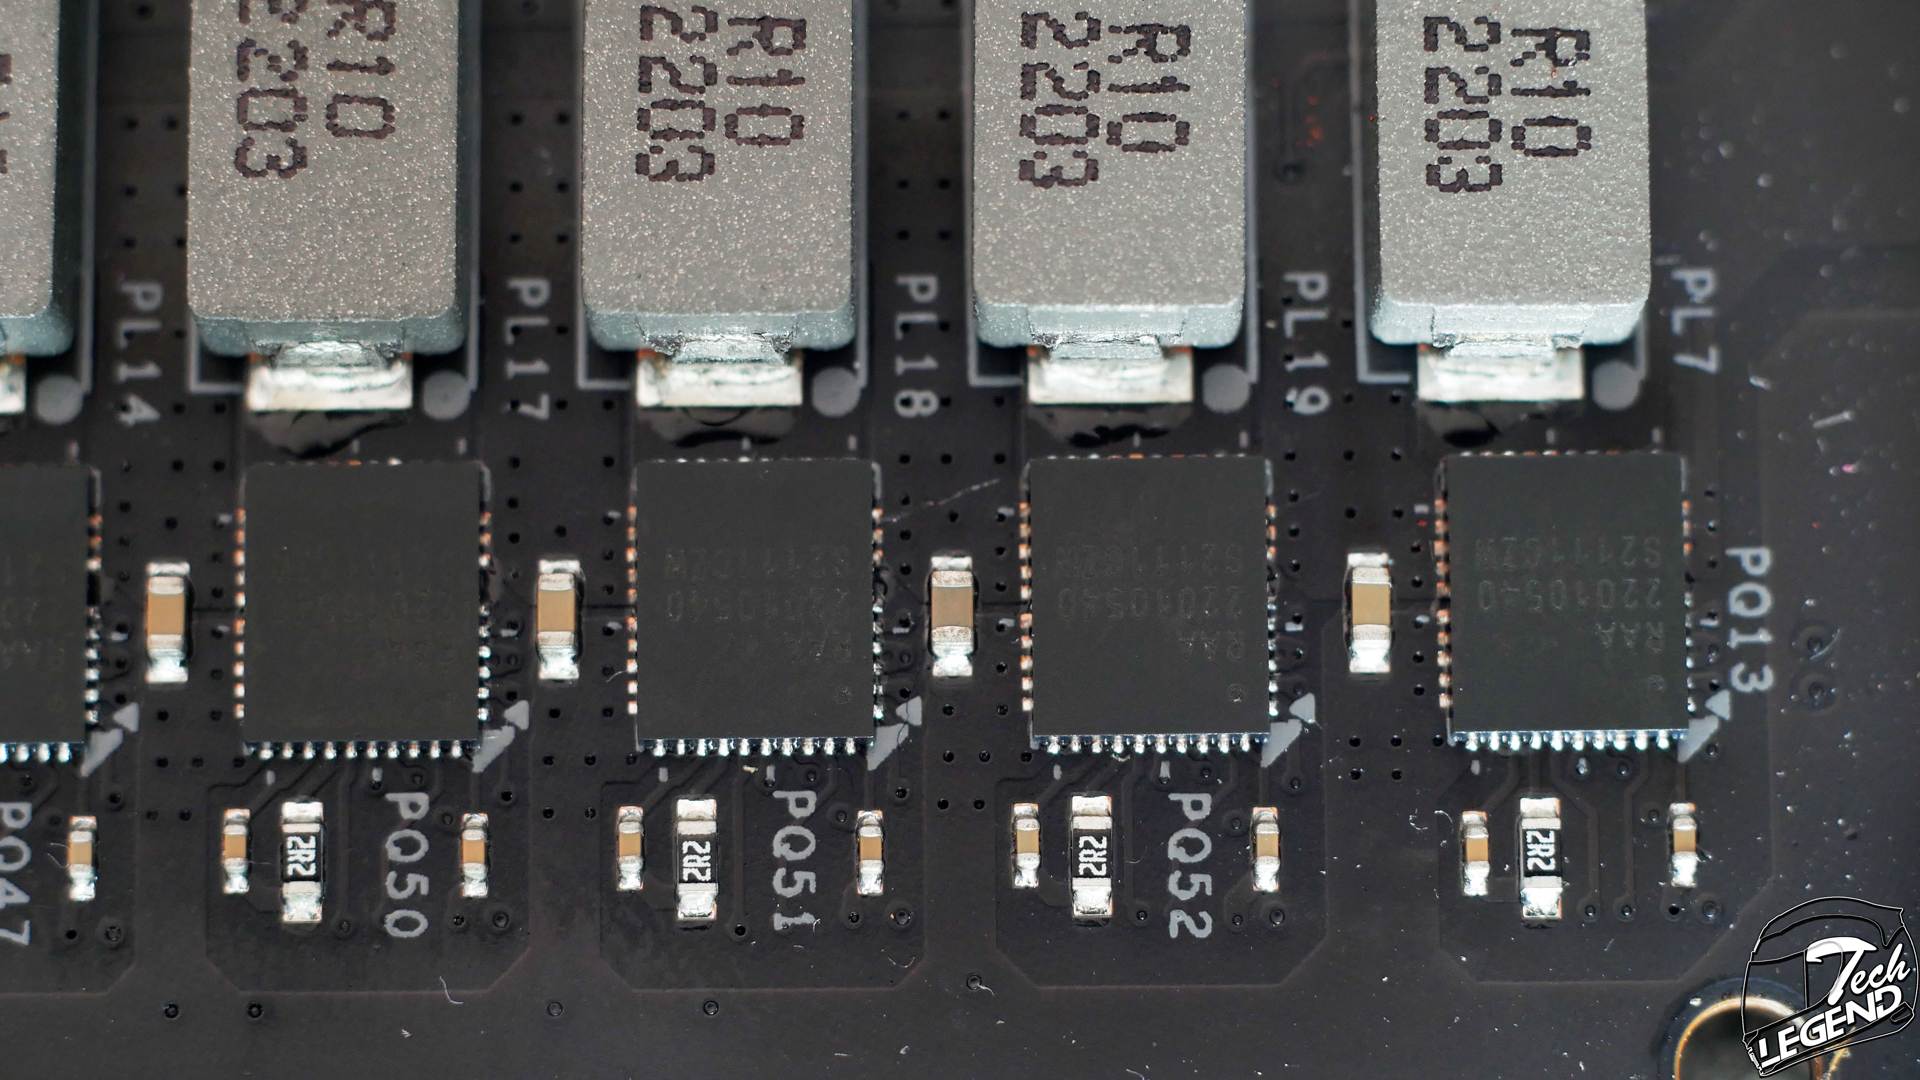
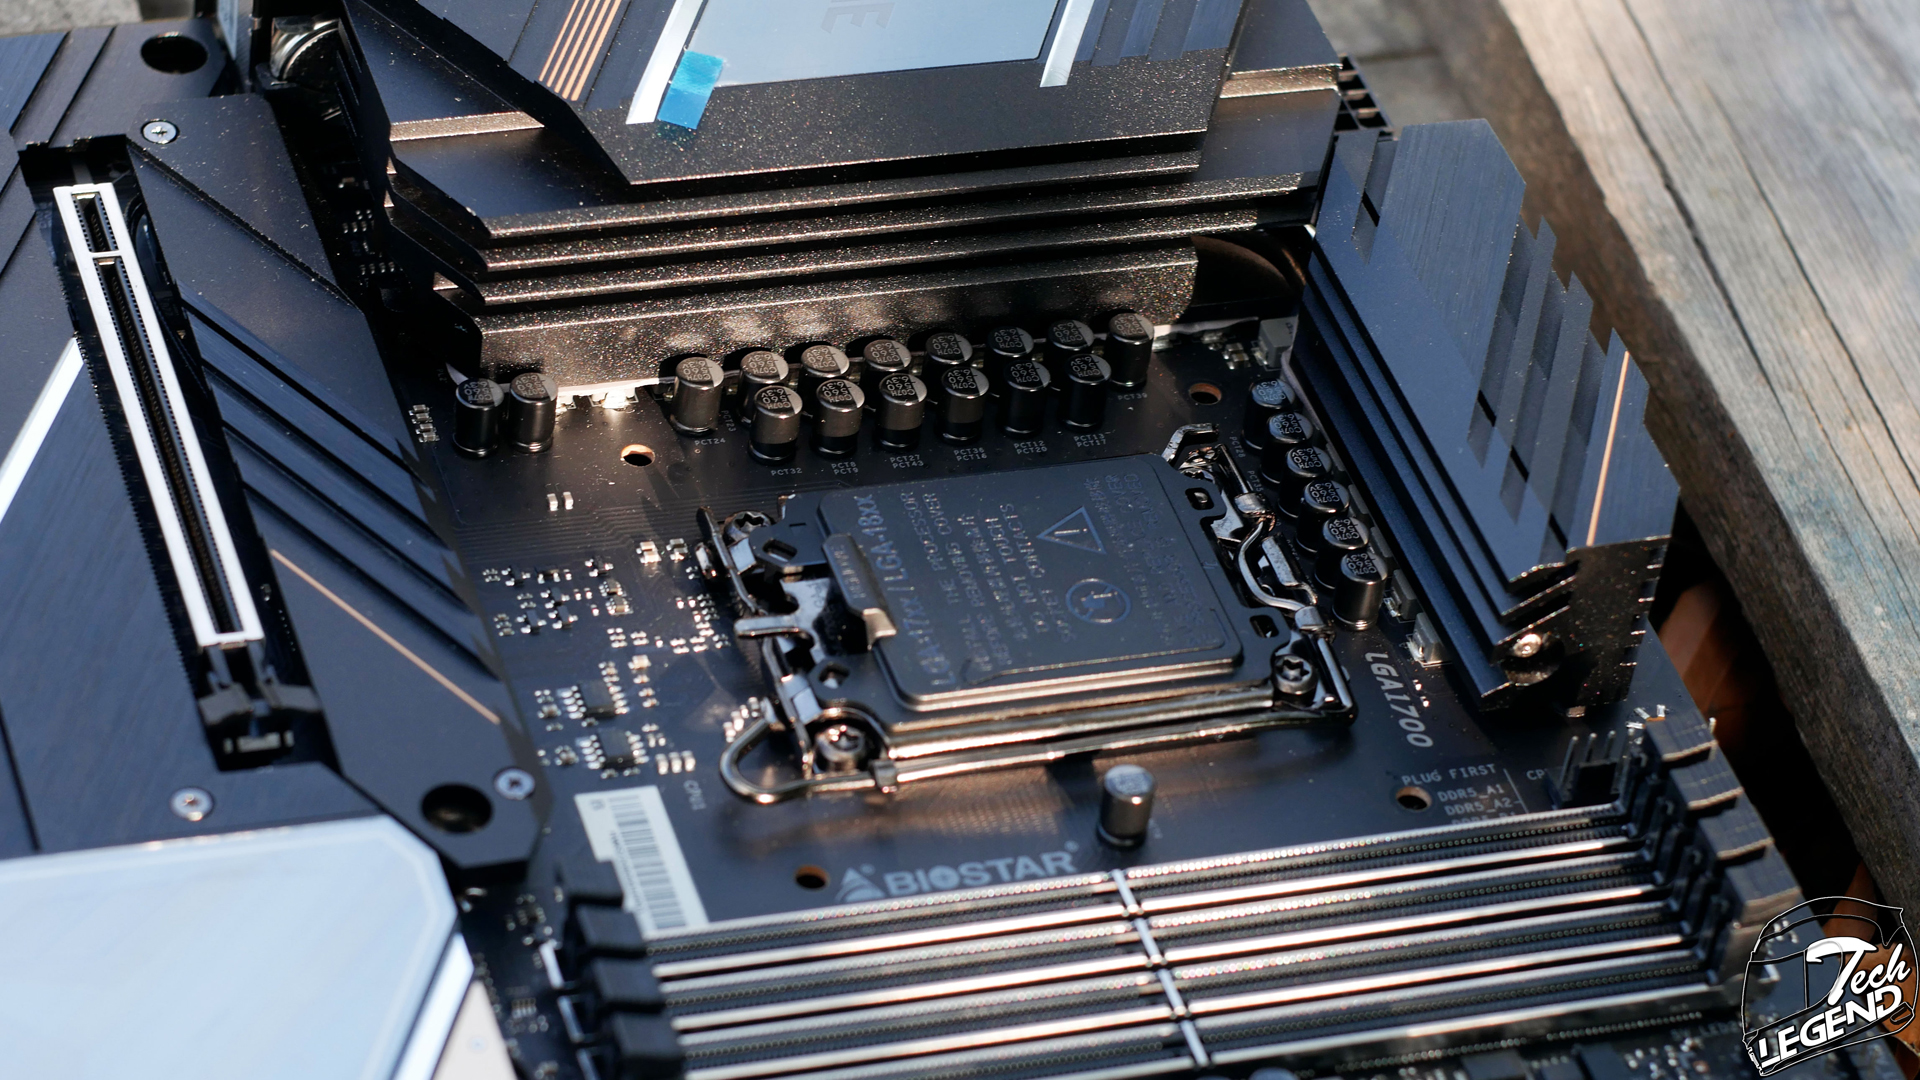
The Z790 Valkyrie has an overbuilt VRM system which uses no less than 20 phases that will handle any CPU you throw at them. This VRM is one of the more capable VRMs I have seen on the Z790 platform and given the power draw of modern Intel CPUs, it will be useful long term.
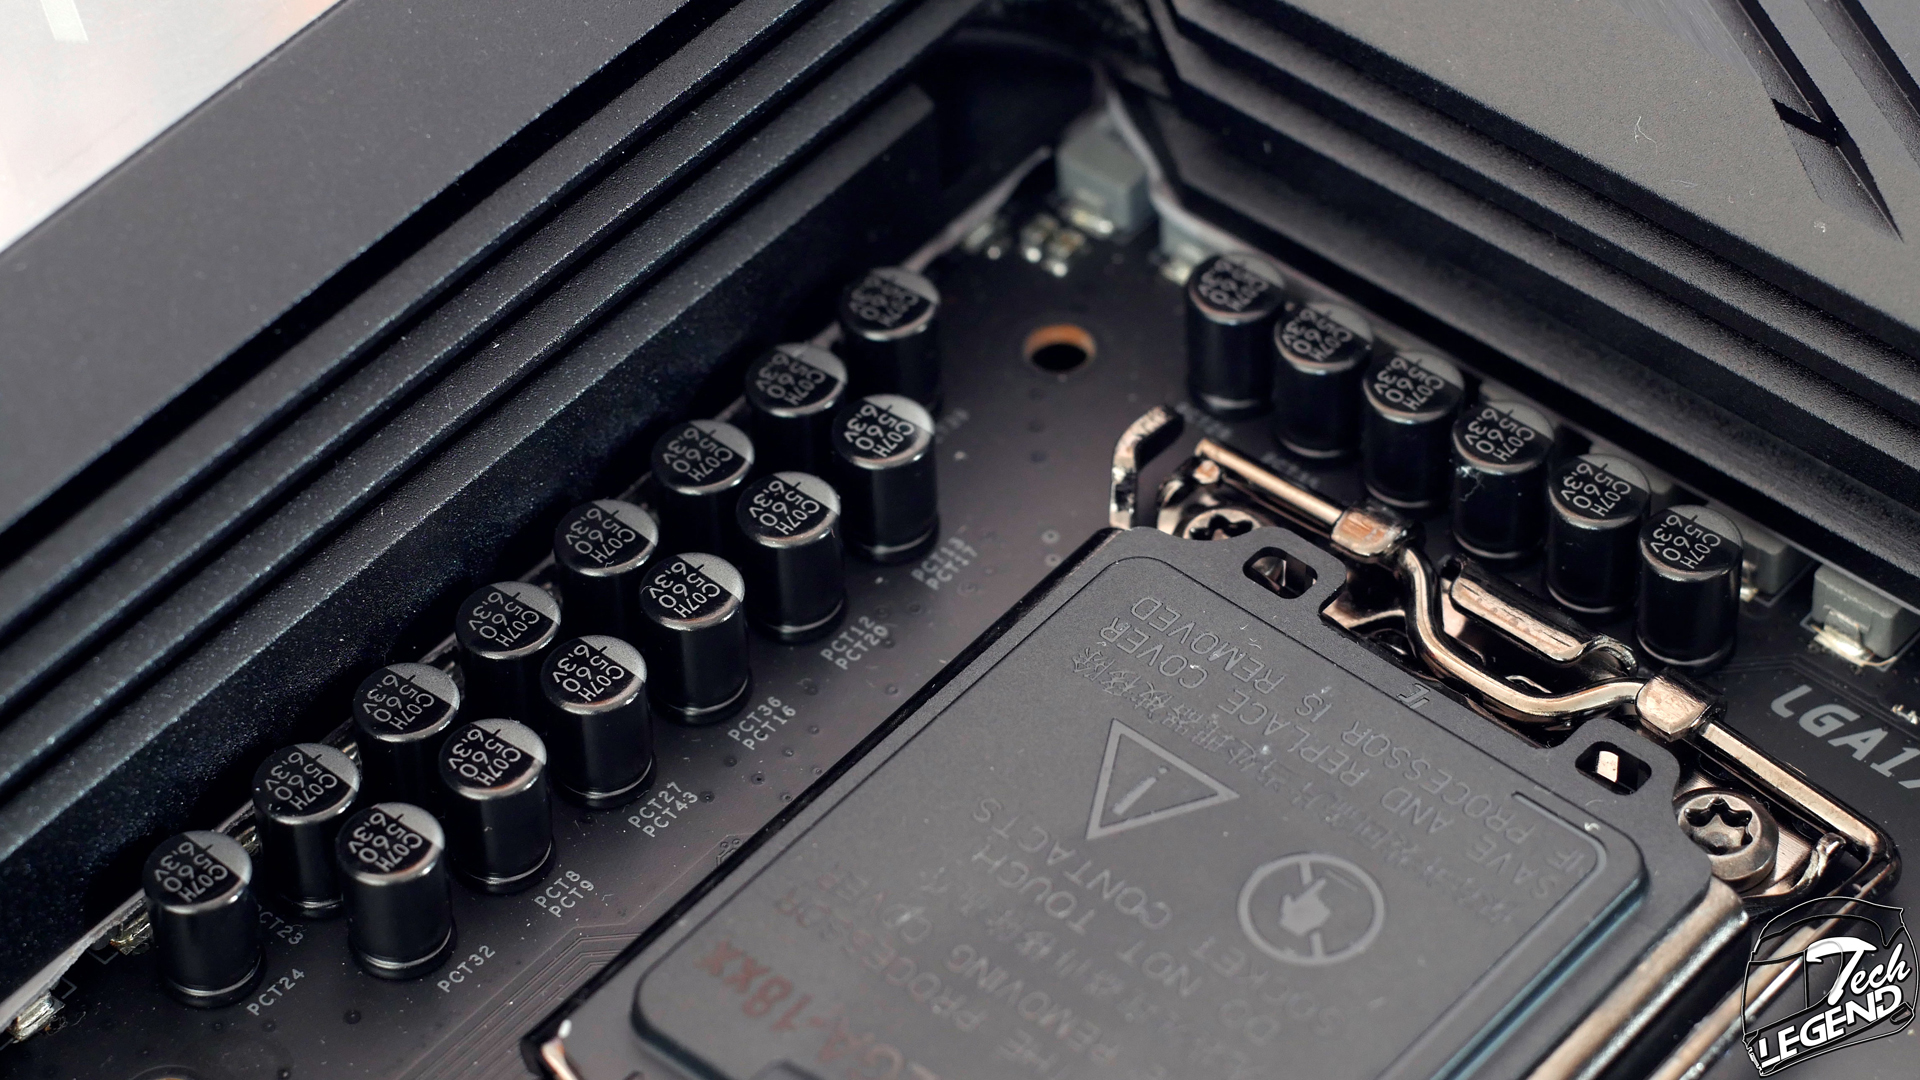
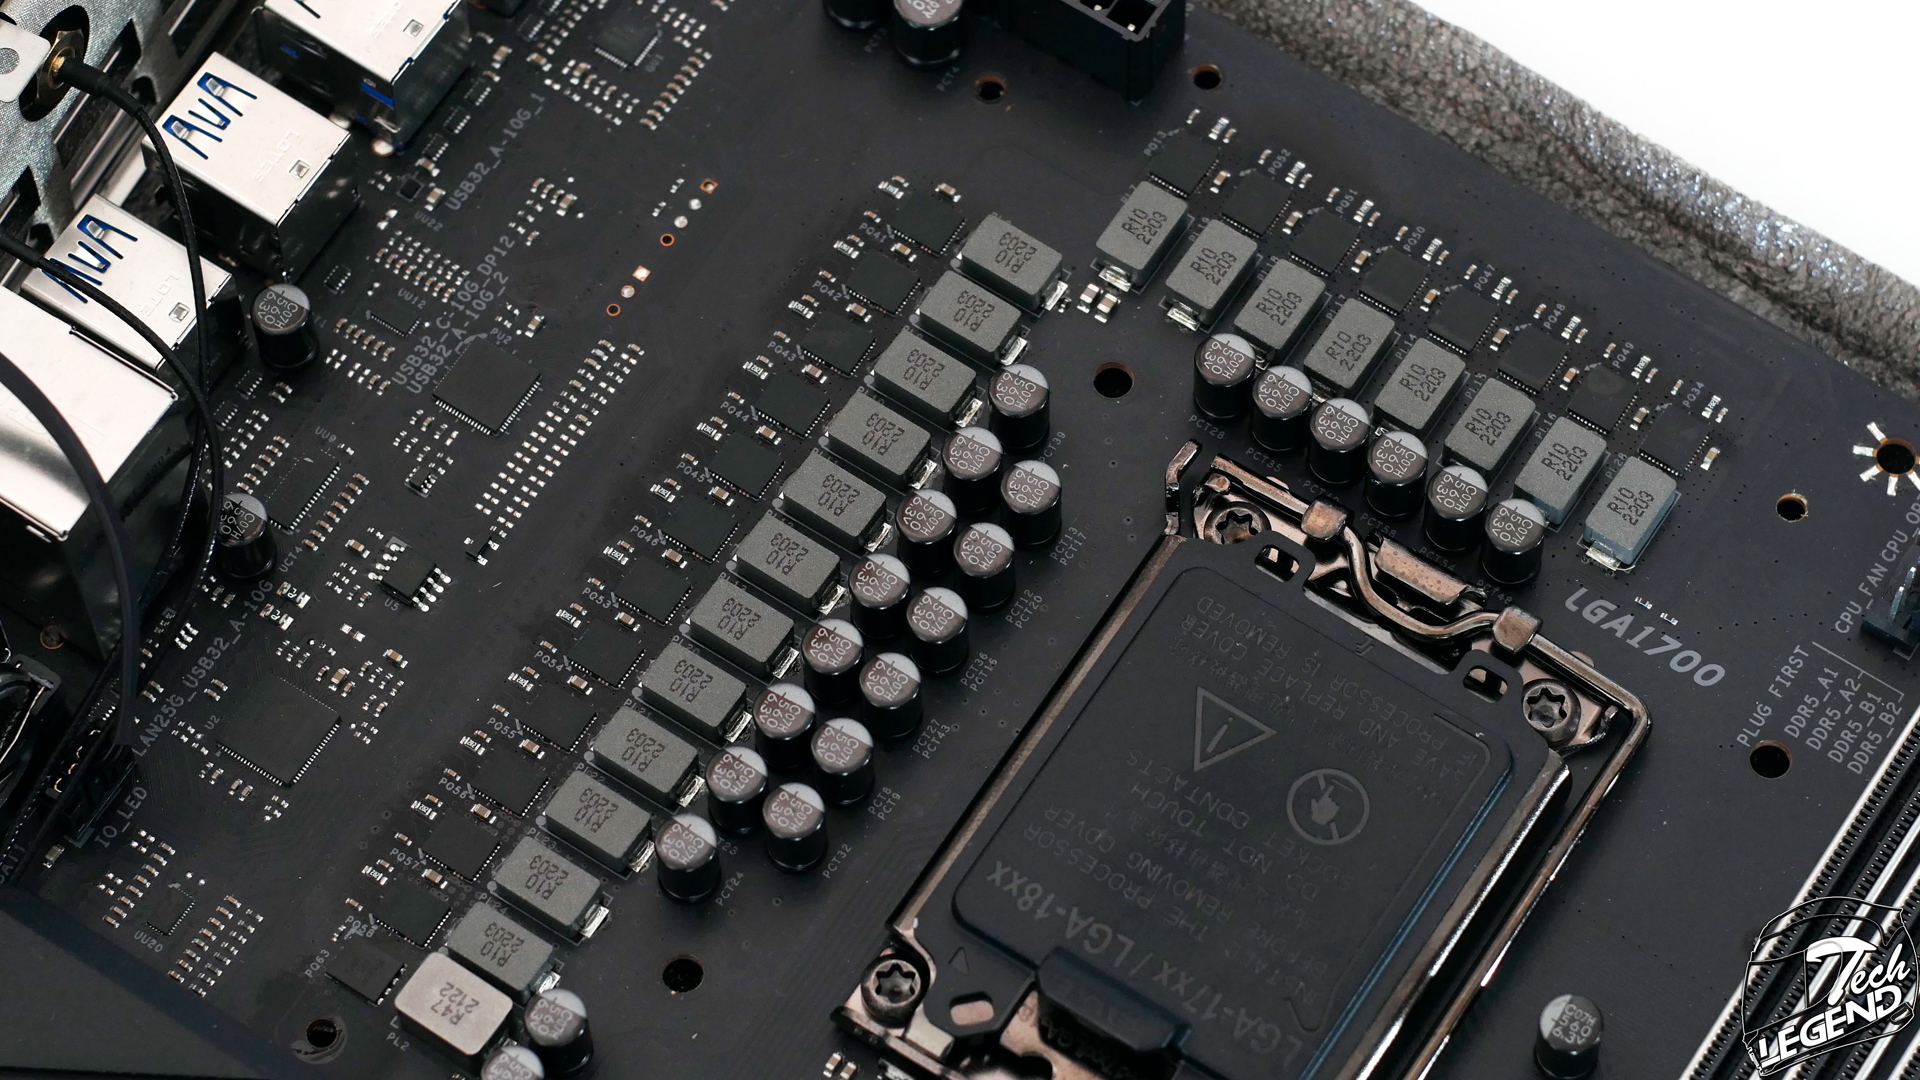
The MOSFETs on this motherboard are made by Renesas as well, and have the model number: RAA22010540. These are rated for 105 A, and with a total of 20 on the VRM side, it totals to no less than 2100A of power for the CPU.
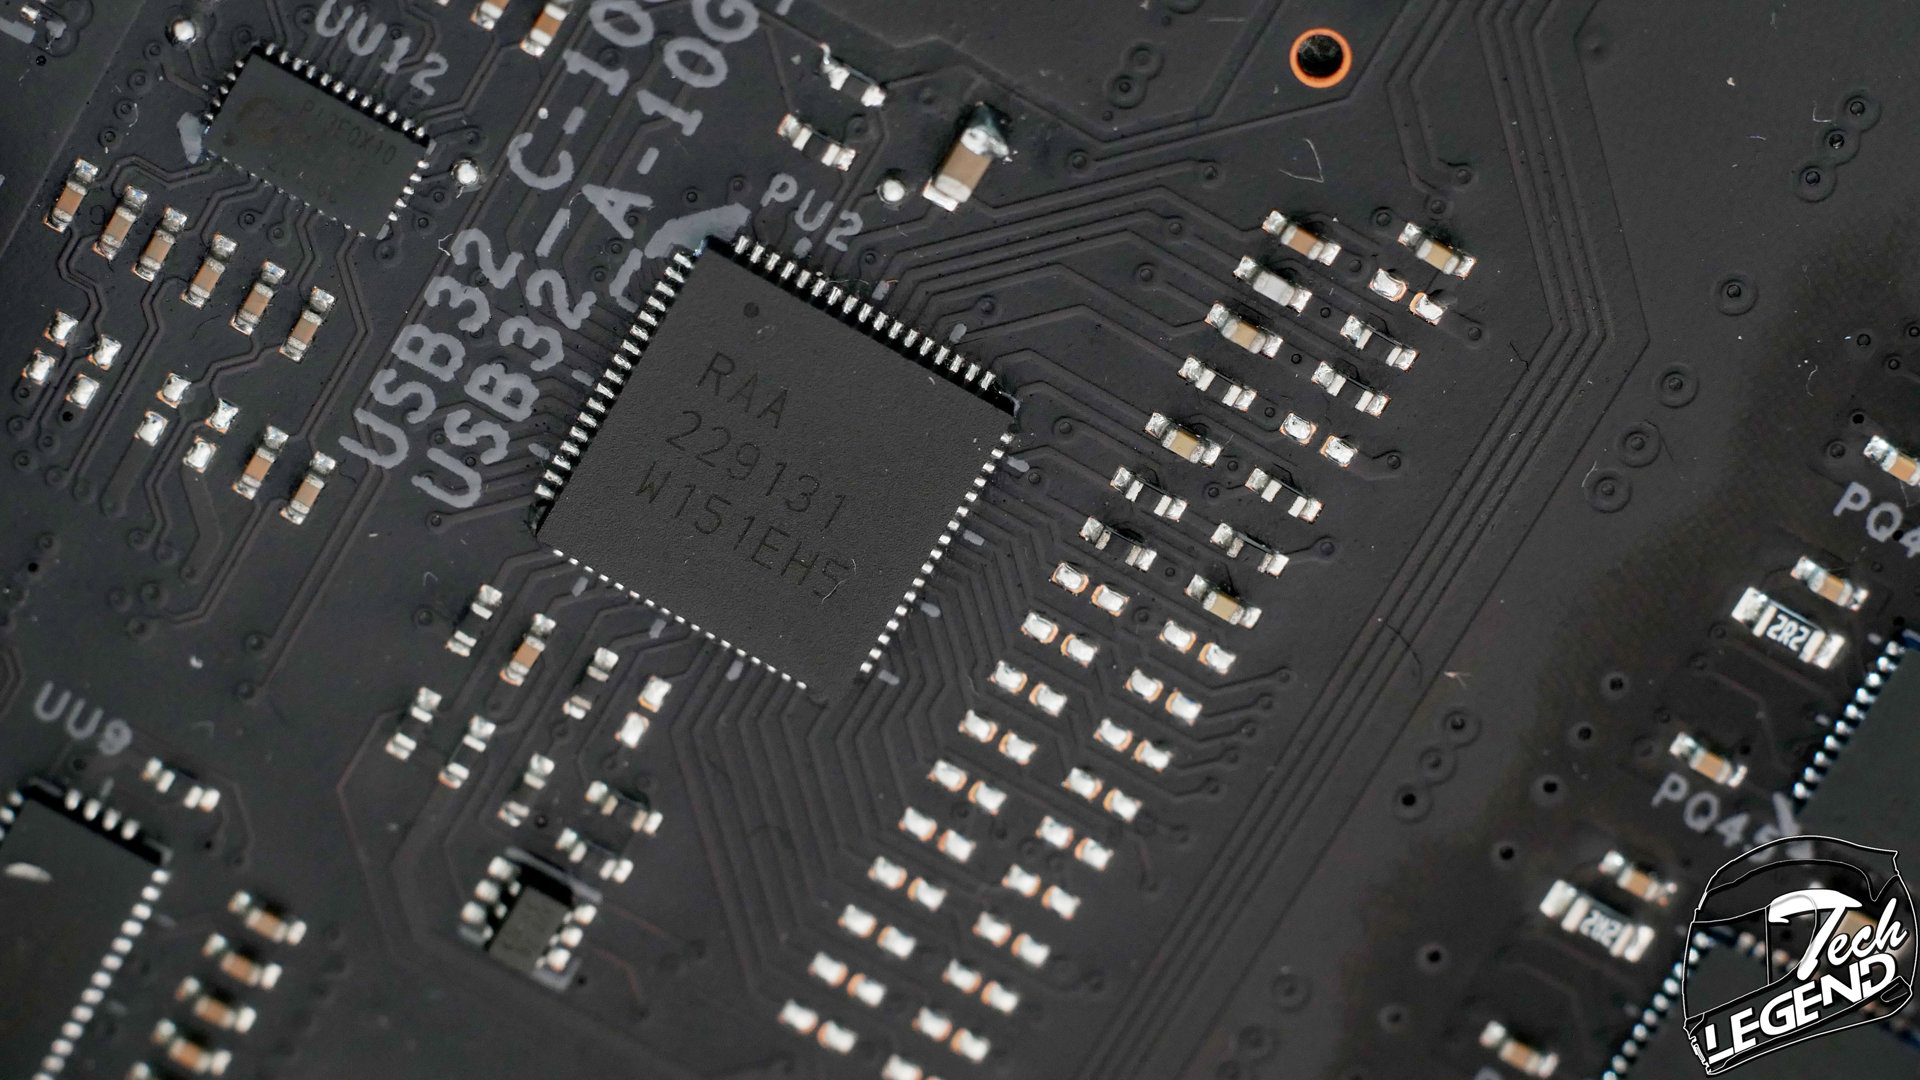
The controller used on this VRM system is a Renesas unit, model: RAA229131.
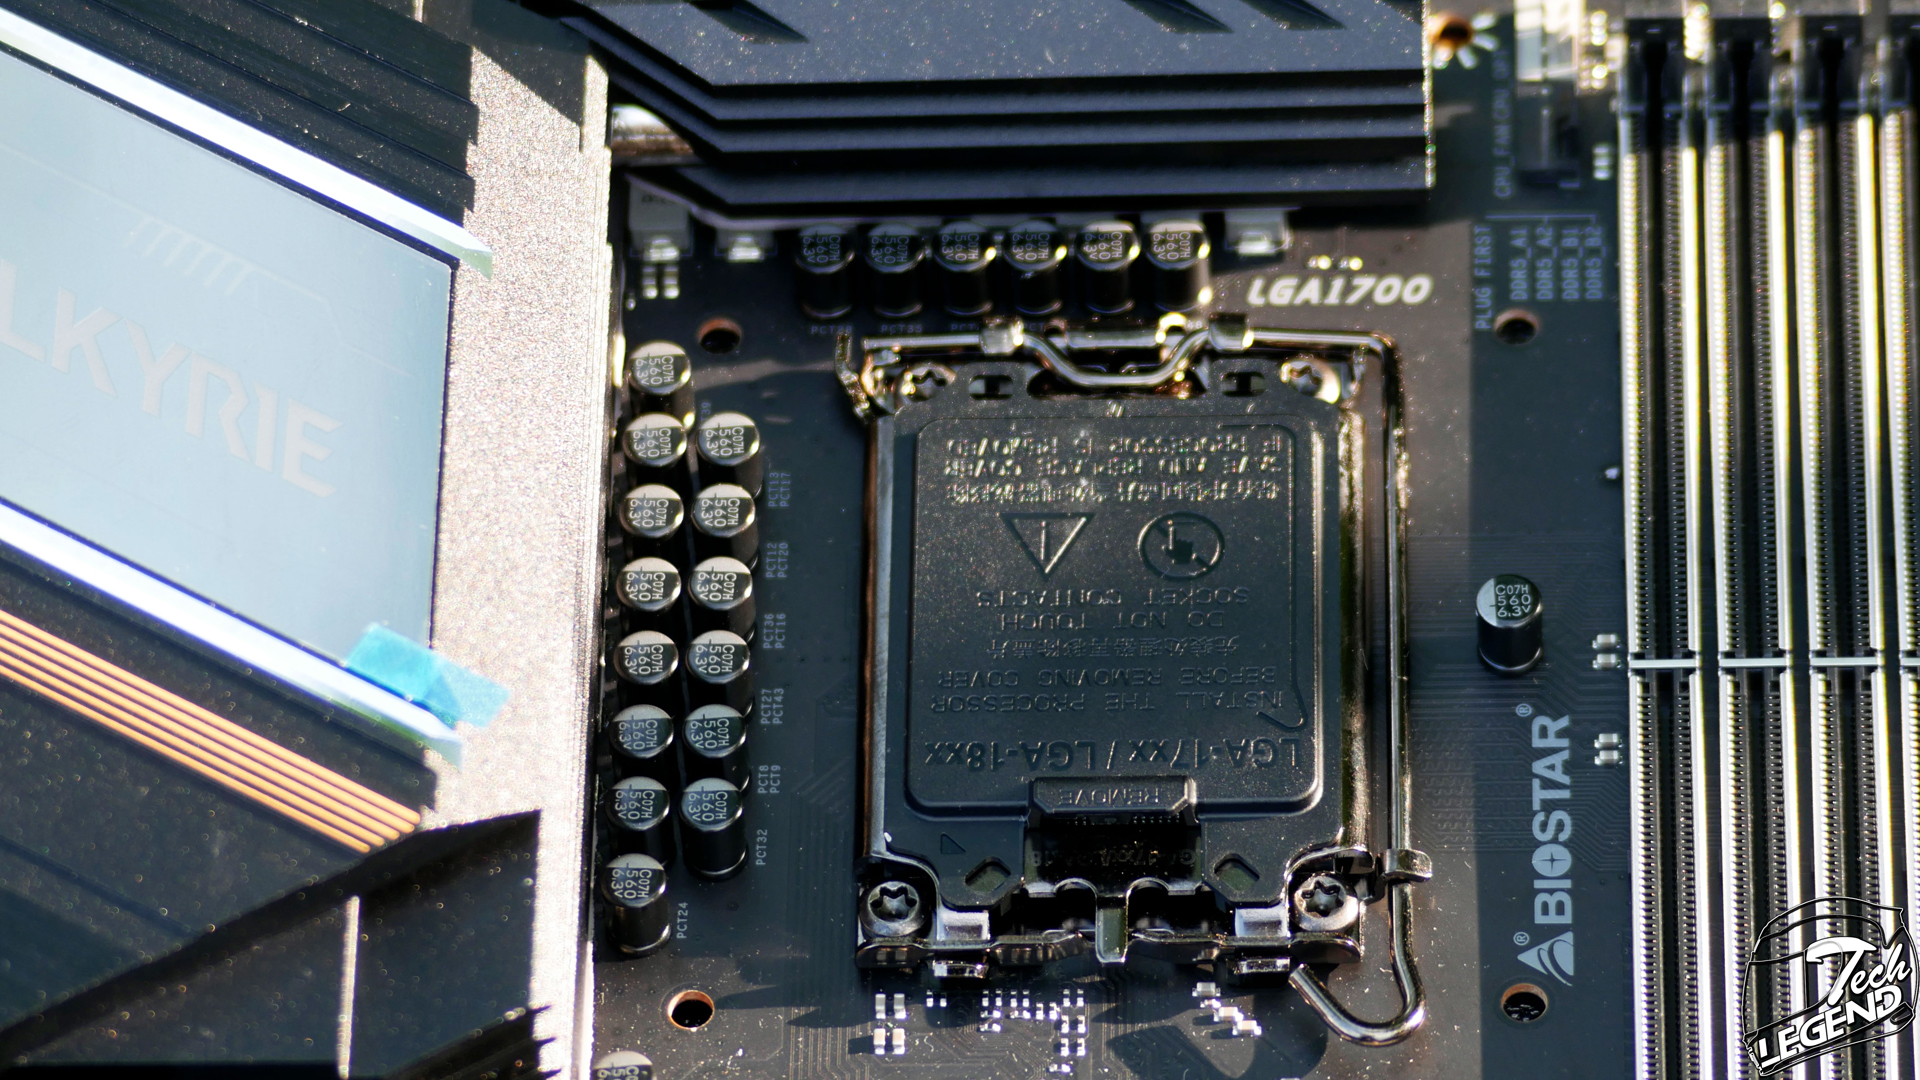
The capacitors used on the motherboard, and especially on the VRM system are black 20K capacitors. High end models used in a variety of Z series motherboards from all motherboard manufacturers.
The VRM cooling is done with the help of two solid aluminum heatsinks, which are connected by a nickel-plated copper heatpipe. While these heatpipes have some large fins carved into their surface, those are not really heatsink cooling fins. It’s more a design feature that will aid with the cooling but not as a real heatsink.
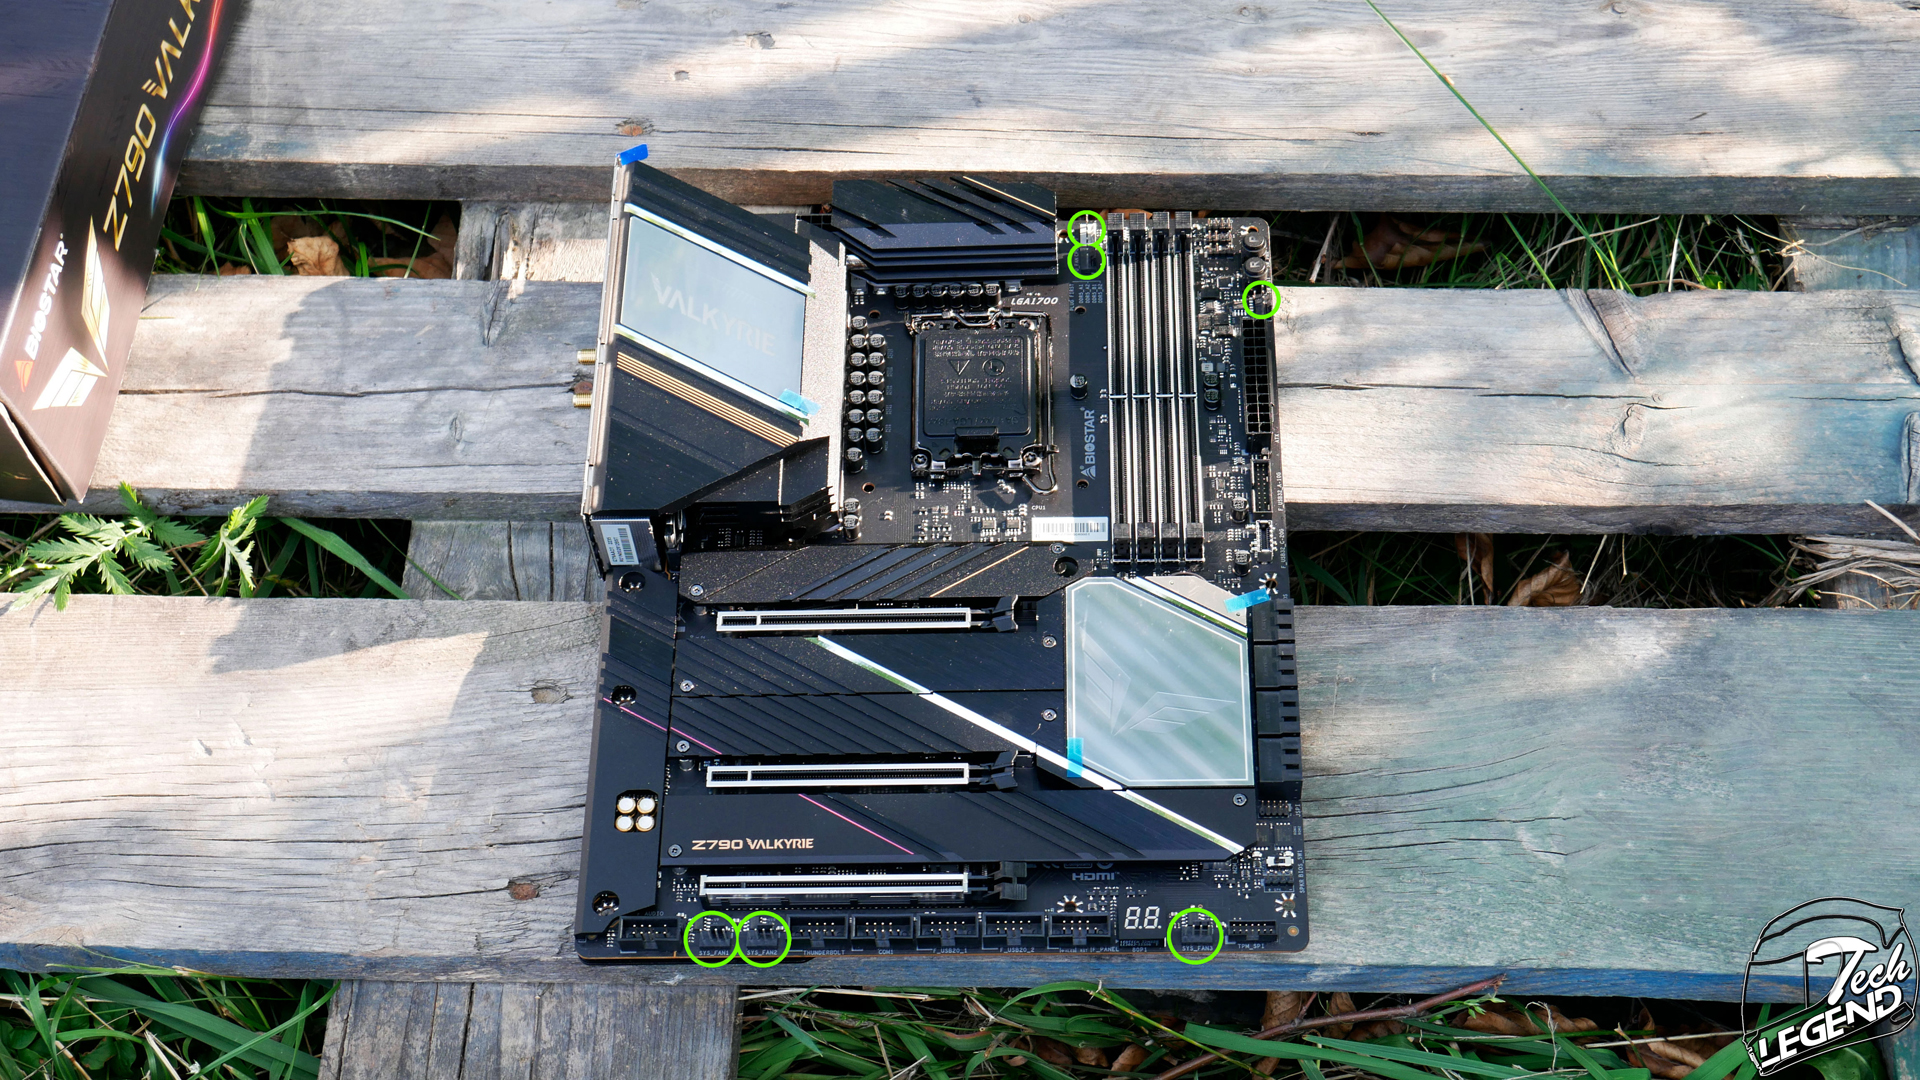
The Biostar Z790 Valkyrie has no less than six (6) 4-Pin fan headers installed on the PCB. The first two fan headers are installed on the upper right of the PCB, one of these fan headers is dedicated for the CPU cooler fan, but can be used for regular fans as well. Another fan header is installed above the 24 Pin power connector.
The other three fan headers are installed on the lower part of the PCB, in between the USB headers.
All four pin fan headers can be controller through software of the Bios of the motherboard.
The Biostar Z790 Valkyrie can use up to 192GB of DDR5 RAM, spread over 4 RAM slots. The motherboard fully supports Intel Extreme Memory Profile (XMP) 2.0.
The RAM slots have metal reinforced plates installed on the upper side. While these do not do much in terms of helping the RAM performance, it does help with the design of the motherboard.

The RGB system used on the Z790 Valkyrie is limited to two locations the VRM heatsink and the chipset heatsink. These are addressable RGB LEDs that can be controlled through the bios or the Biostar software.
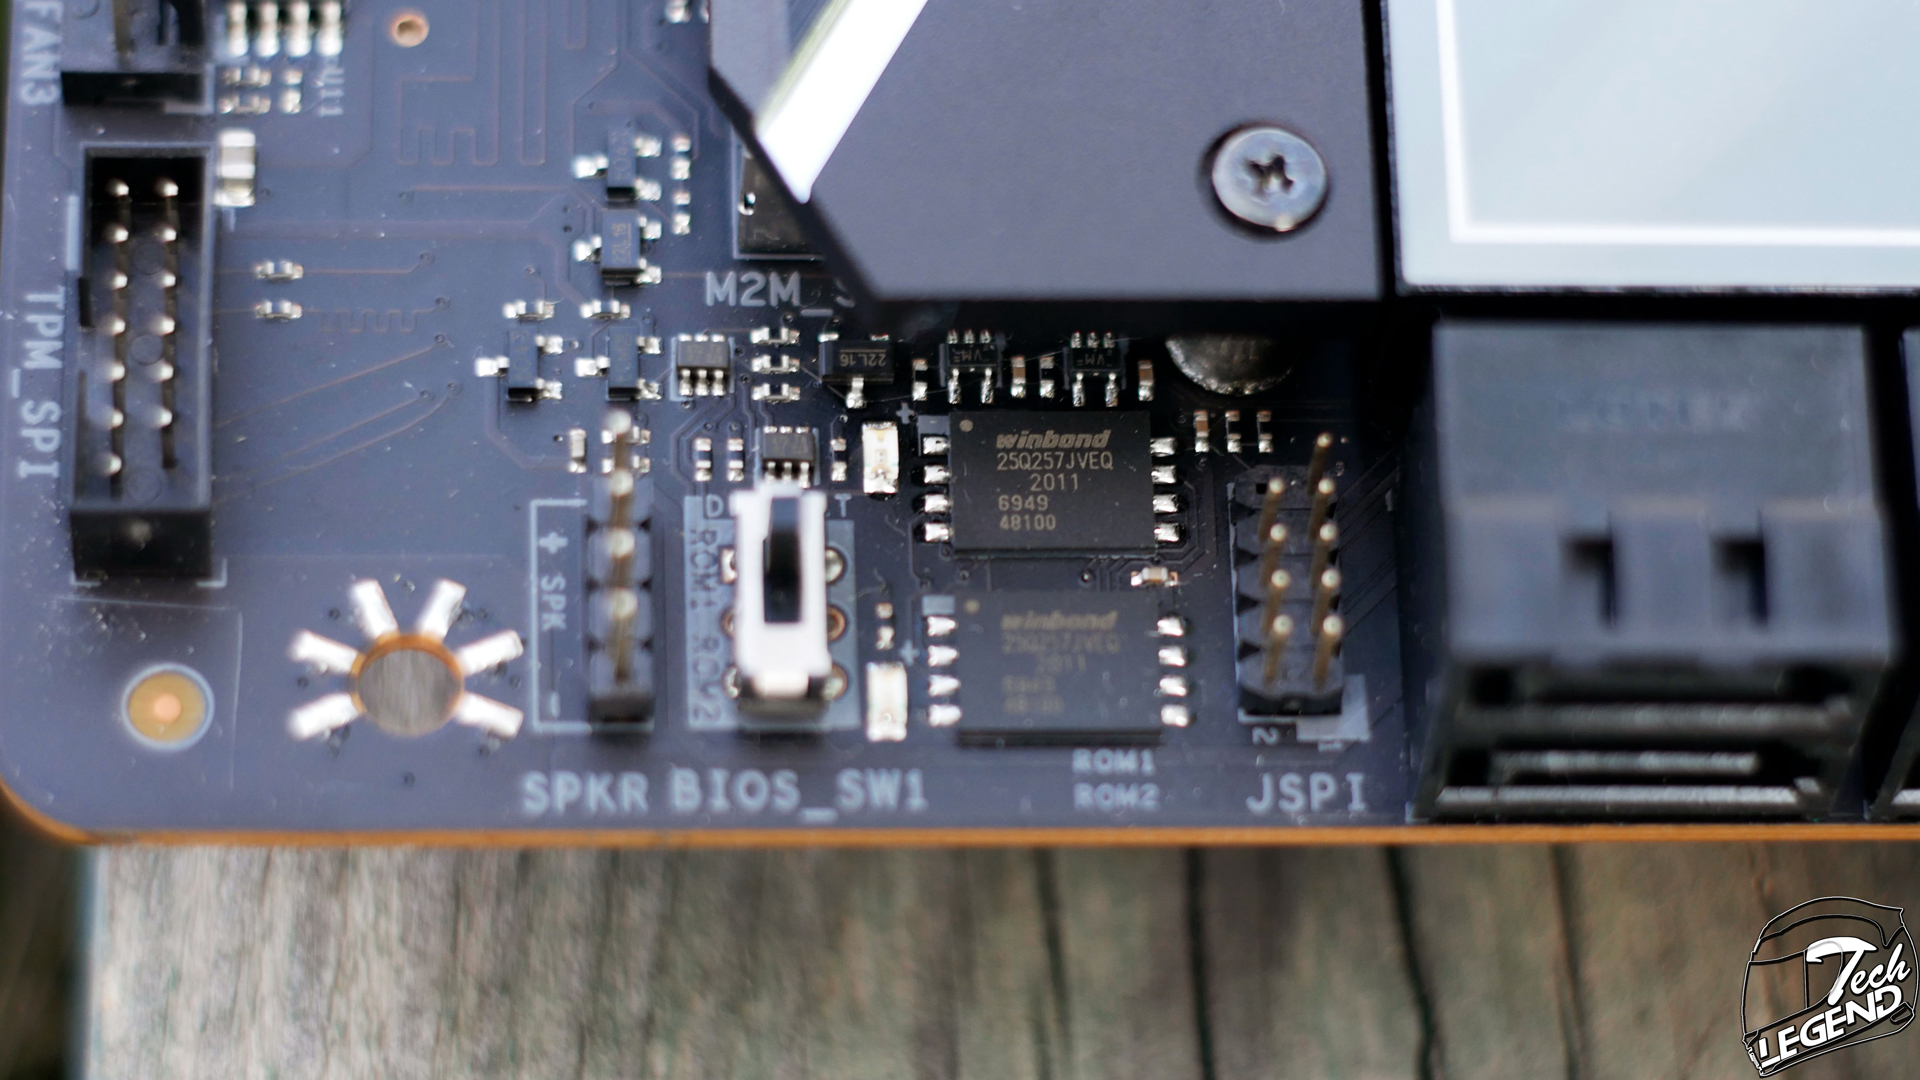
The dual bios setup used two Winbond 25Q257JVEQ bios chips. These are installed next to the Bios toggle switch on the right part of the motherboard.
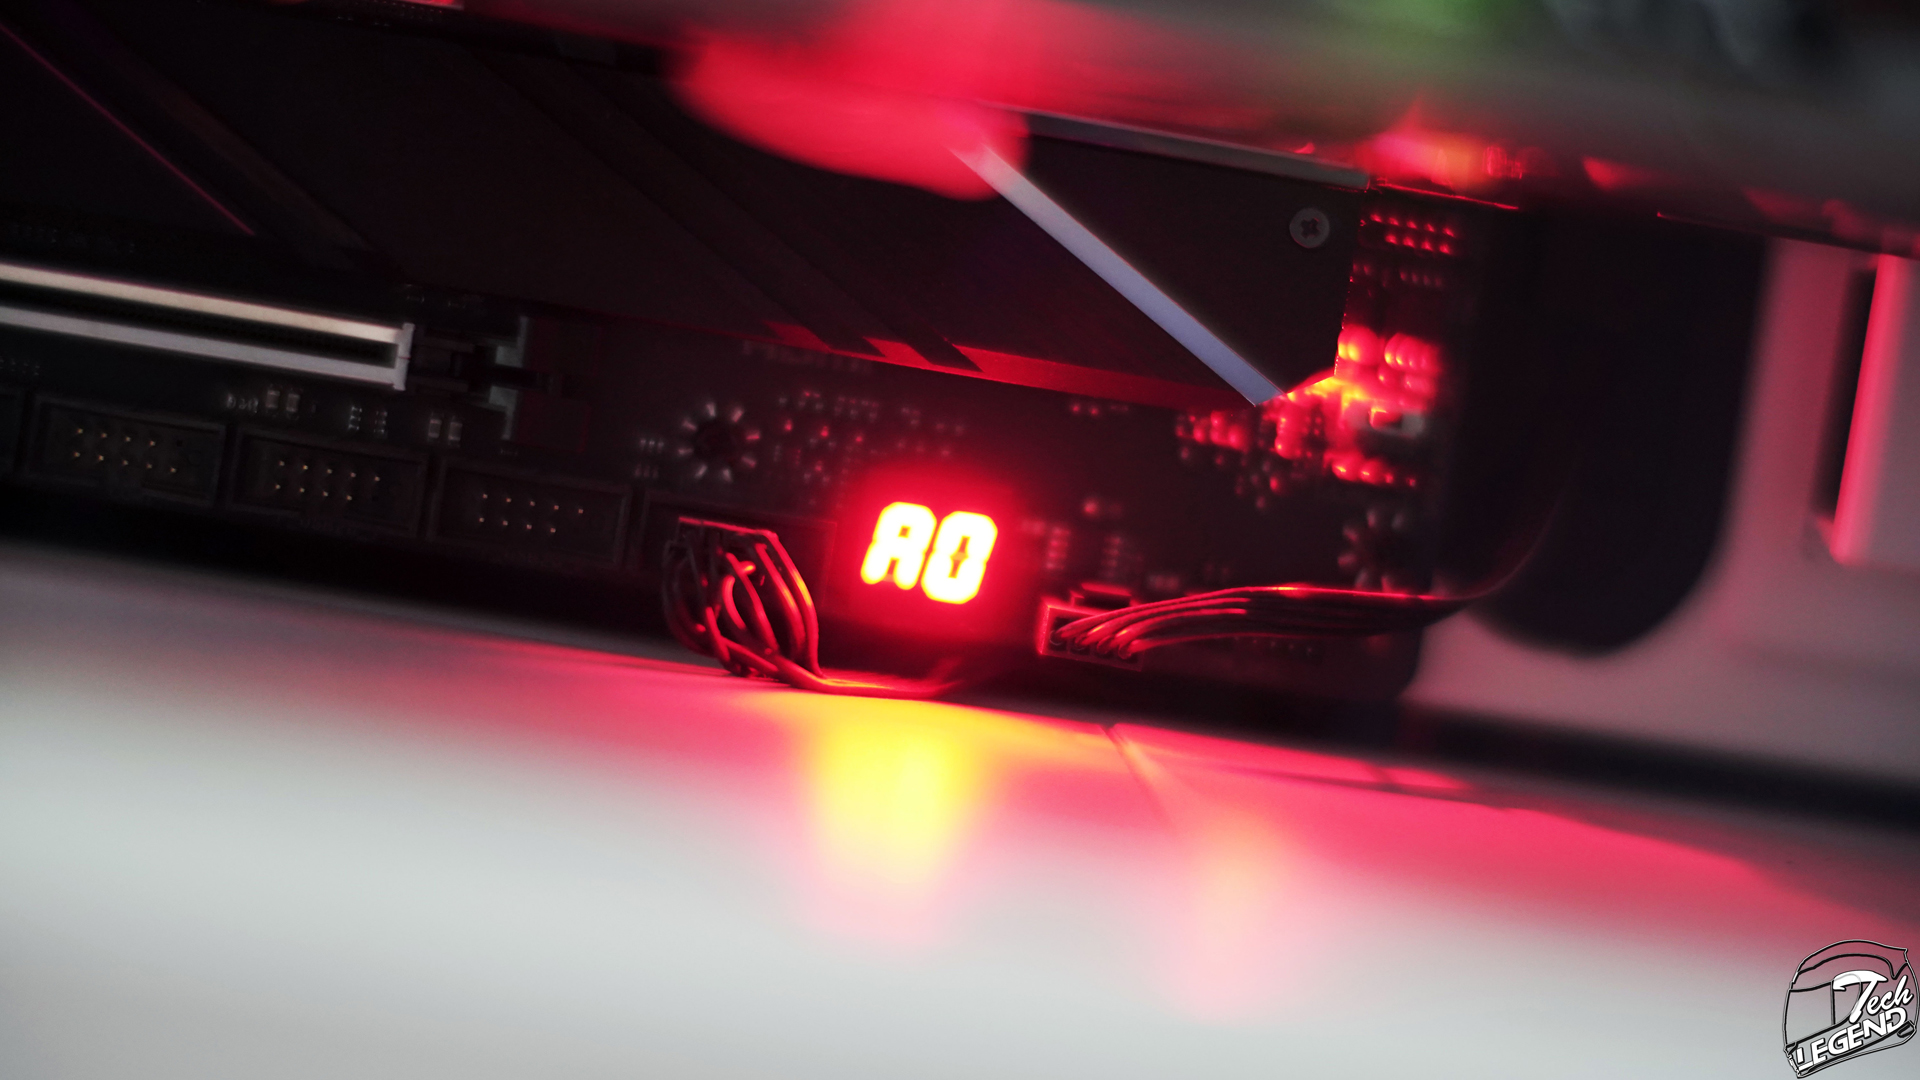
Like all modern motherboards, the Z790 Valkyrie uses a two-digit POST display to showcase errors. The unfortunate thing about this little display is that while other motherboards can use this display to show real time CPU temperature, the Z790 Valkyrie only uses it for error codes.

The Z790 Valkyrie has no less than five M.2 sockets (including one PCI Express 5.0). The top 2 M.2 sockets are linked to the CPU while the rest are bound on the motherboard chipset and controller. And thus, only the top M.2 socket is going to benefit from the best performance offered by the motherboard.
What is great to see with this motherboard and its M.2 sockets is the fact that it uses individual heatsinks for each socket. This means that you can upgrade your M.2 SSDs without removing the graphics card as is the case for motherboards with monoblock heatsainks.
In terms of standard storage, the Z790 Valkyrie has eight SATA ports, all right angled for easier reach of the cables. However, as is the case with these ports, once you start using some M.2 sockets, certain SATA ports will be disabled.
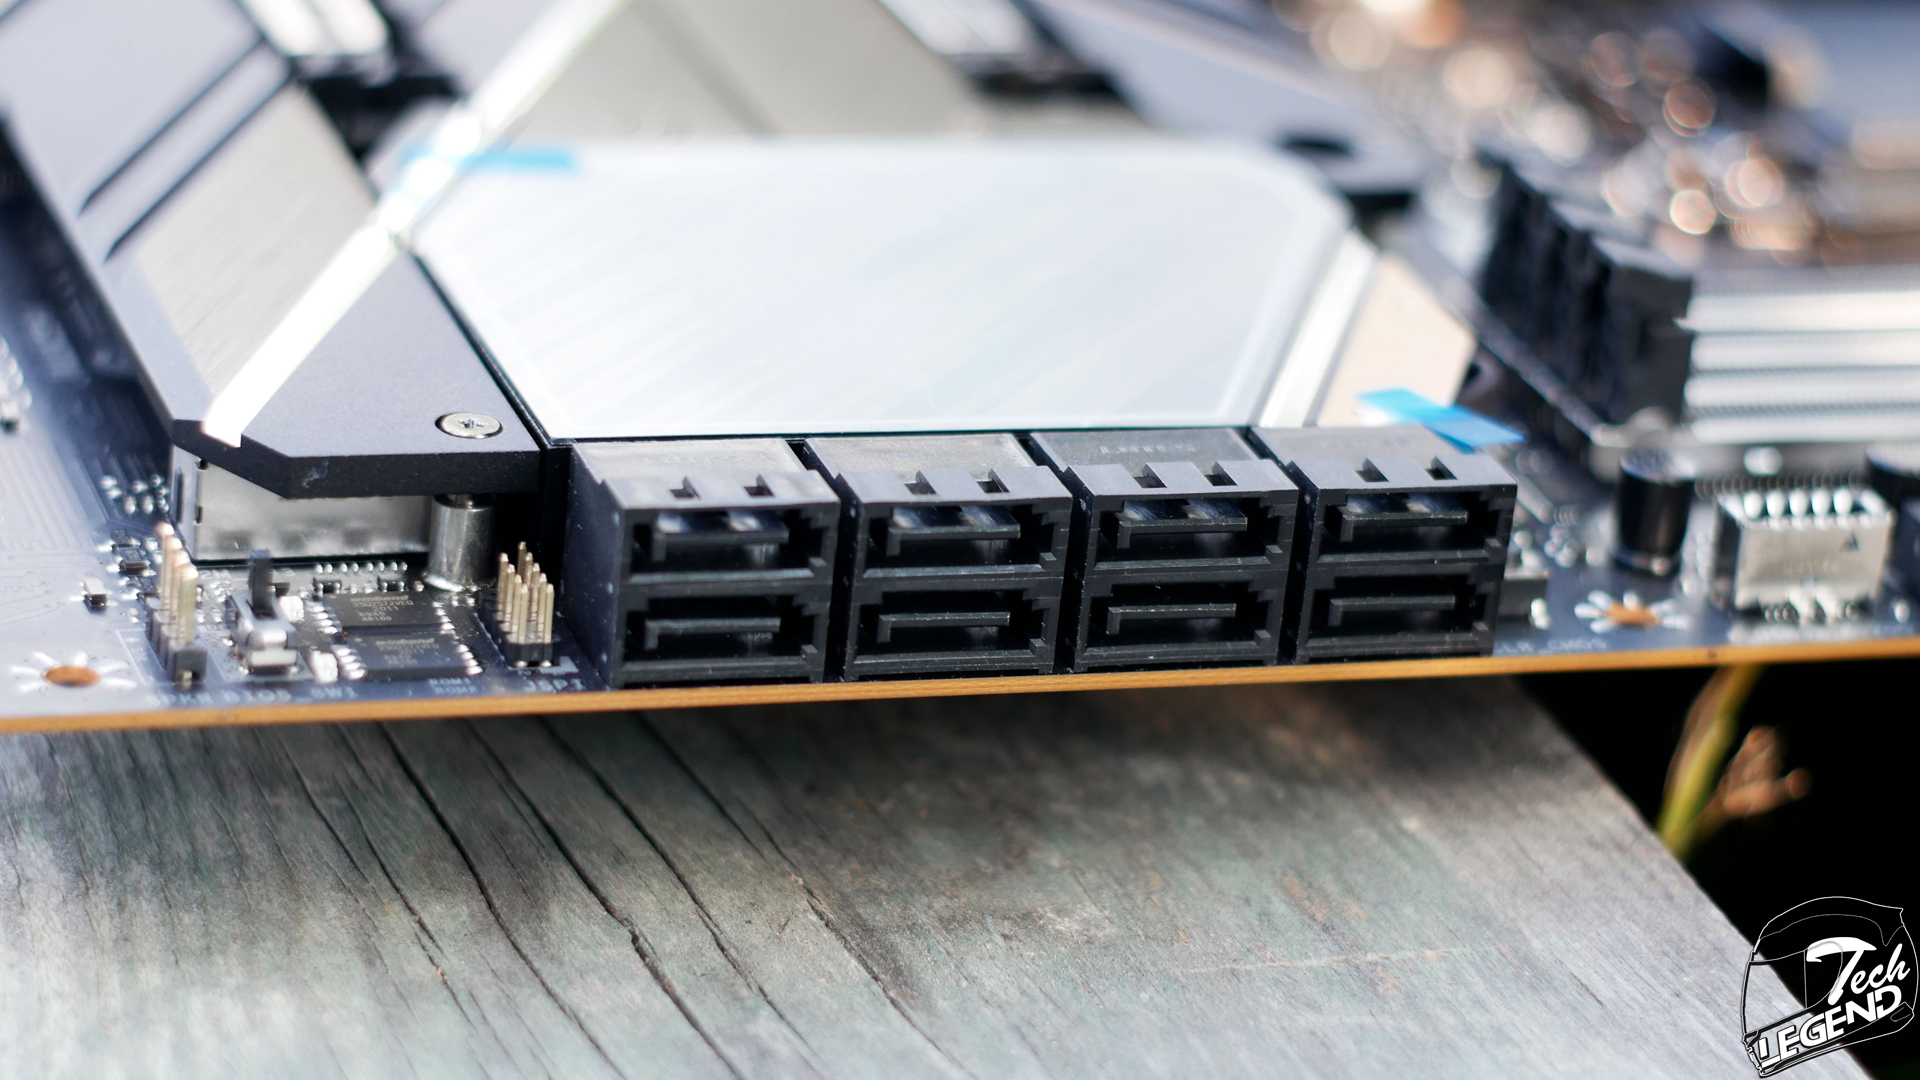
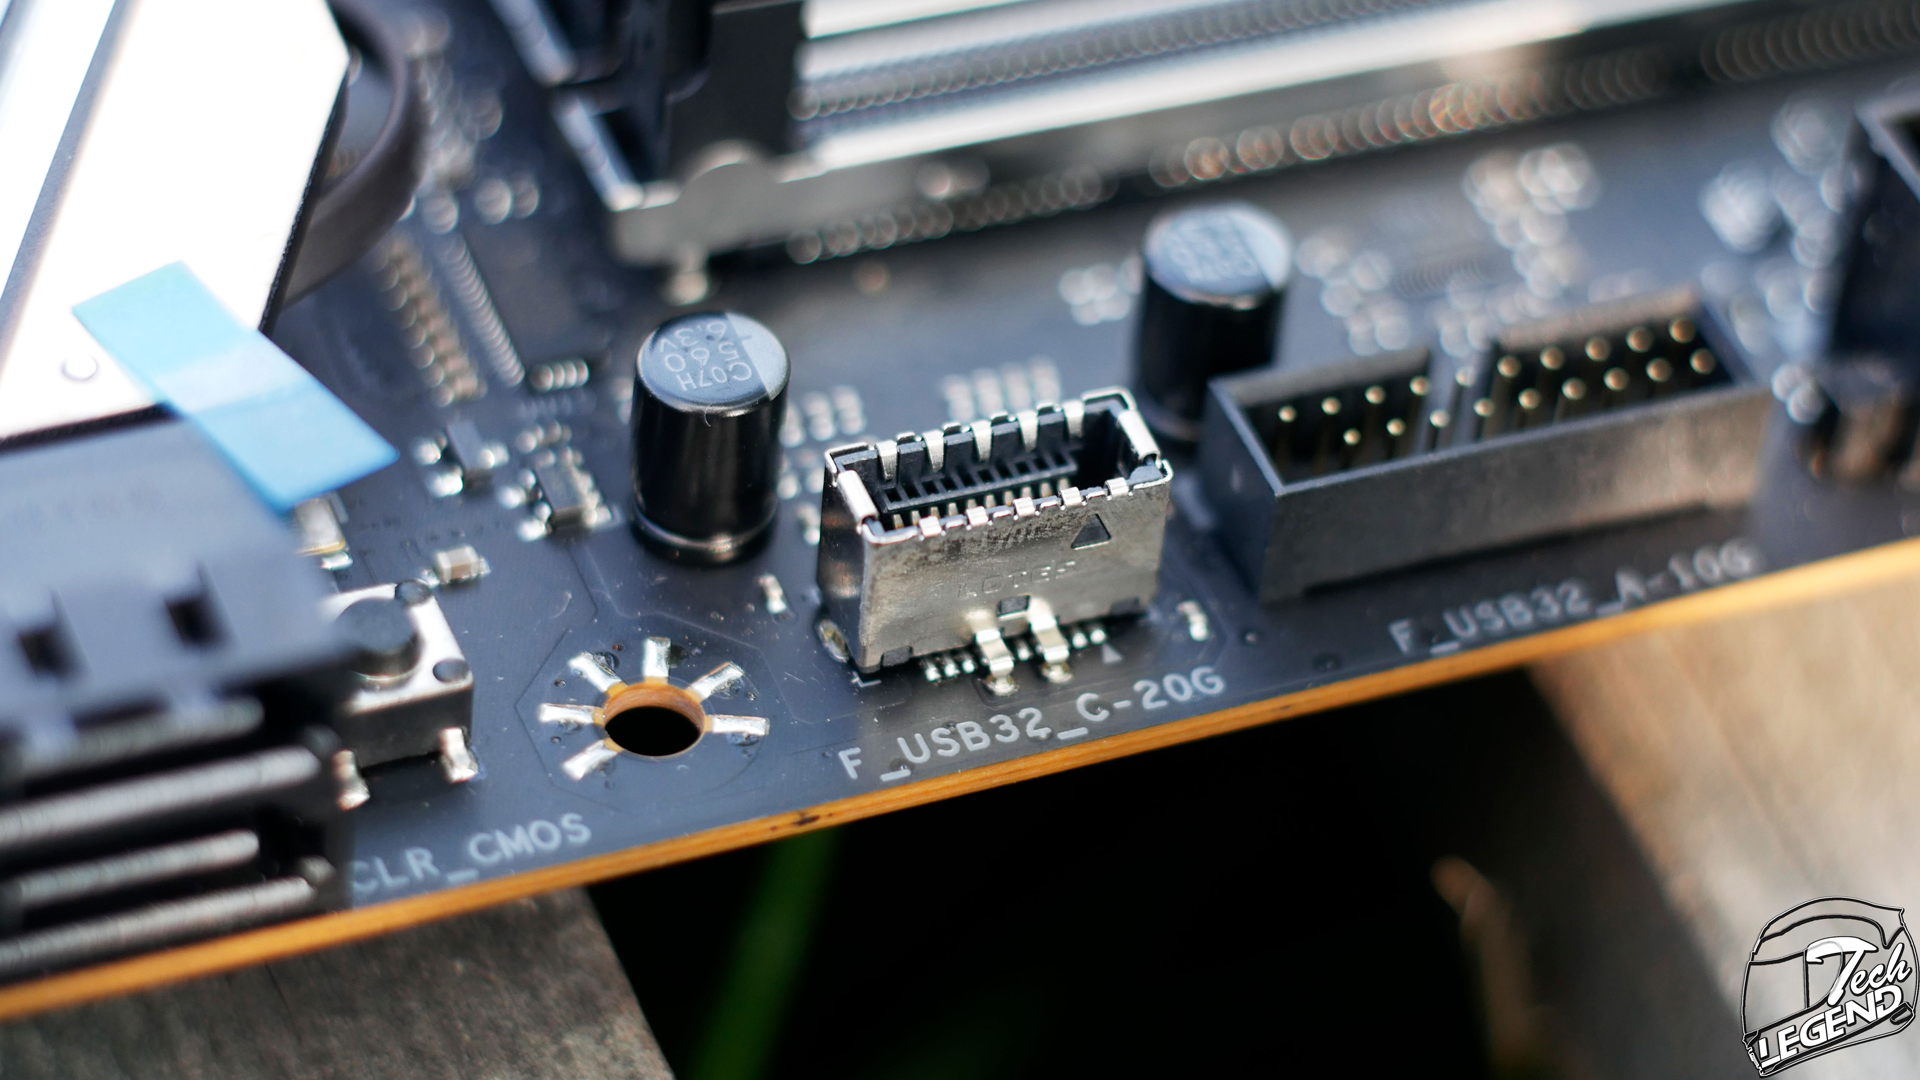
Next to the SATA connectors, there is a single USB 3.2 Gen 2 Type-c header. This header is used to connect the front USB Type-C connector of your case to the motherboard.
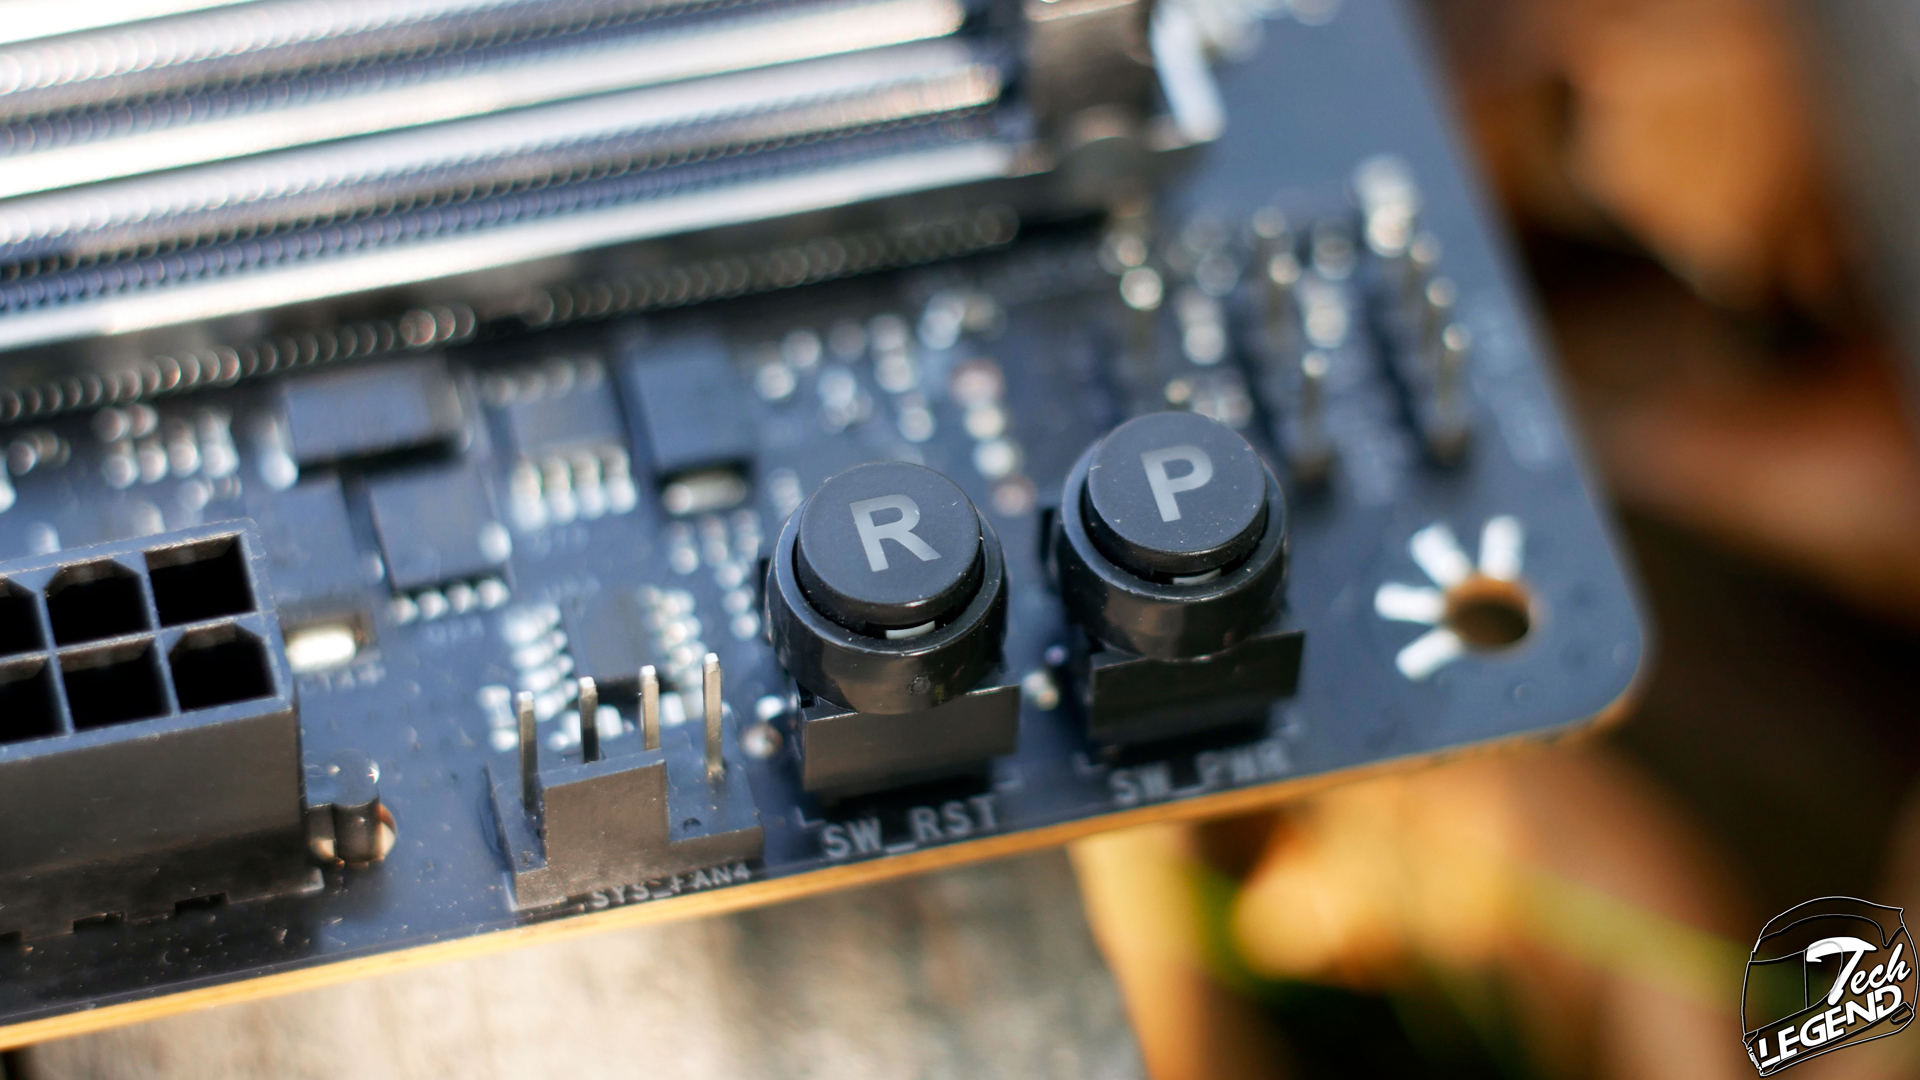
The motherboard has two onboard buttons on the upper right corner. These are the power and reset switches.
The Z790 Valkyrie has a dedicated M.2 E-key socket, and you can use it for an M.2 wi-fi network card. Unfortunately, the network card is not included but the motherboard is compatible with most wi-fi cards available today.
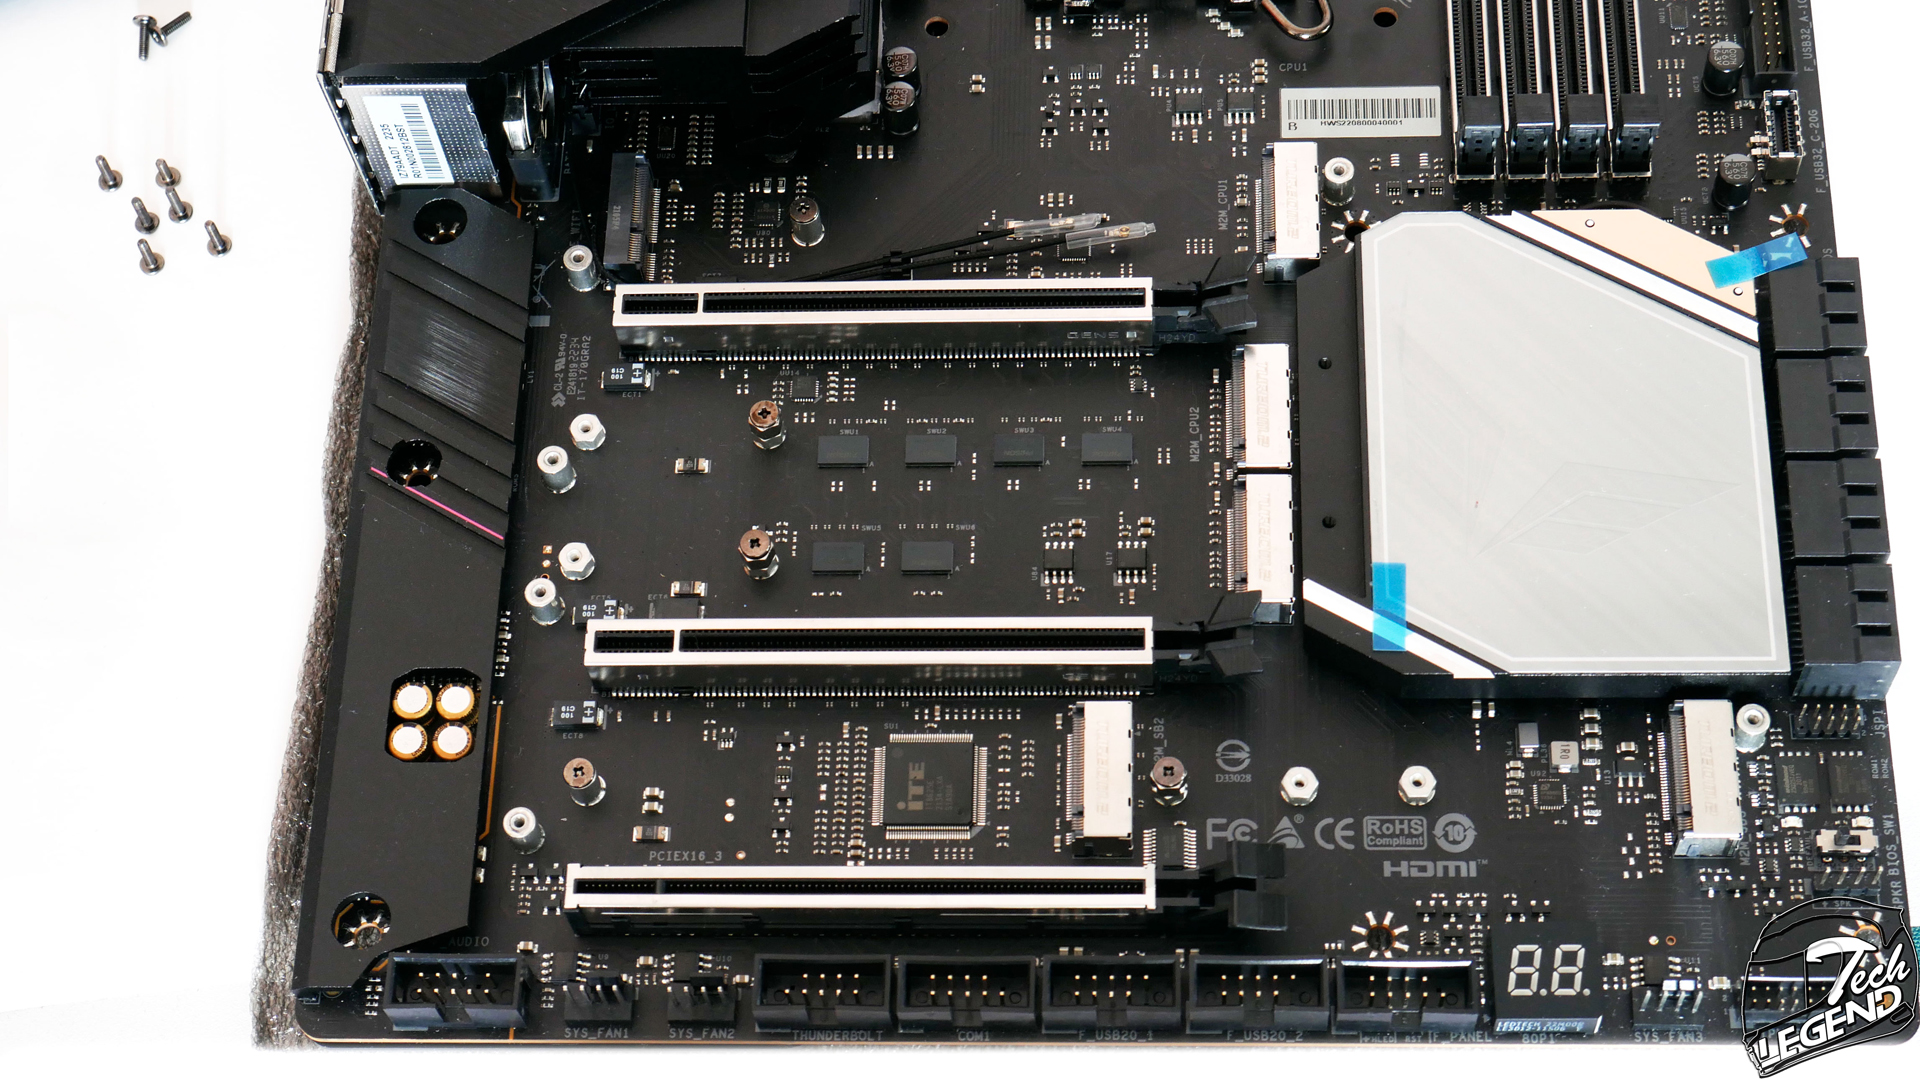
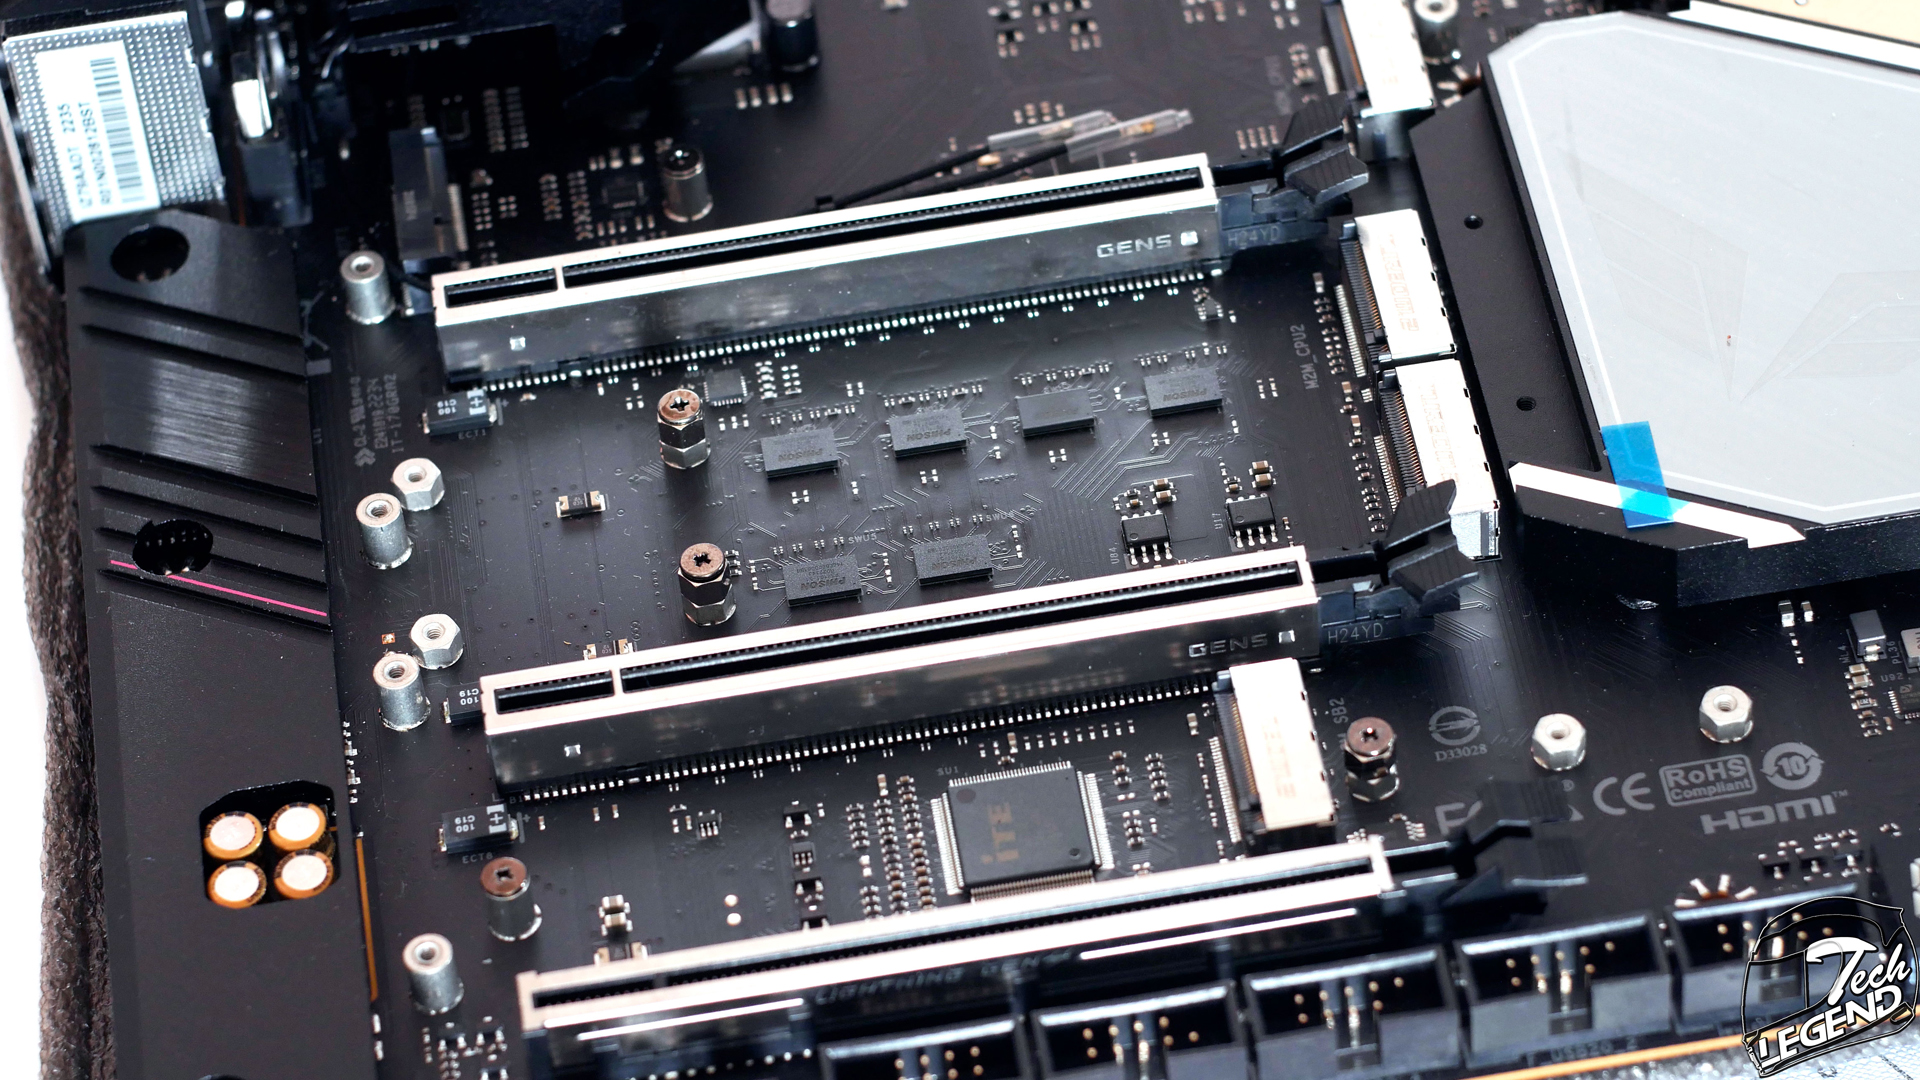
The expansion slots with the Z790 Valkyrie are reinforced with metal to better handle the weight of a modern graphics card. The top two slots are PCI-Express Gen5 slots, working in either x16 or x8. The bottom PCIe slot is a PCI-Express Gen4 x16 Slot working in x4 mode.
The system management on the Z790 Valkyrie is done by an ITE 8625E SuperI/O chip. This is installed above the bottom PCIe Express slot and has as its main job the handling of sensor monitoring, fan control and so on.

The audio system uses the Realtek ALC1220 Audio Codec. The filtering is done as always using Nippon Chemi-Con capacitors Fine Gold series capacitors. The audio system which includes everything from the controller, capacitors and other components is isolated from the rest of the PCB.

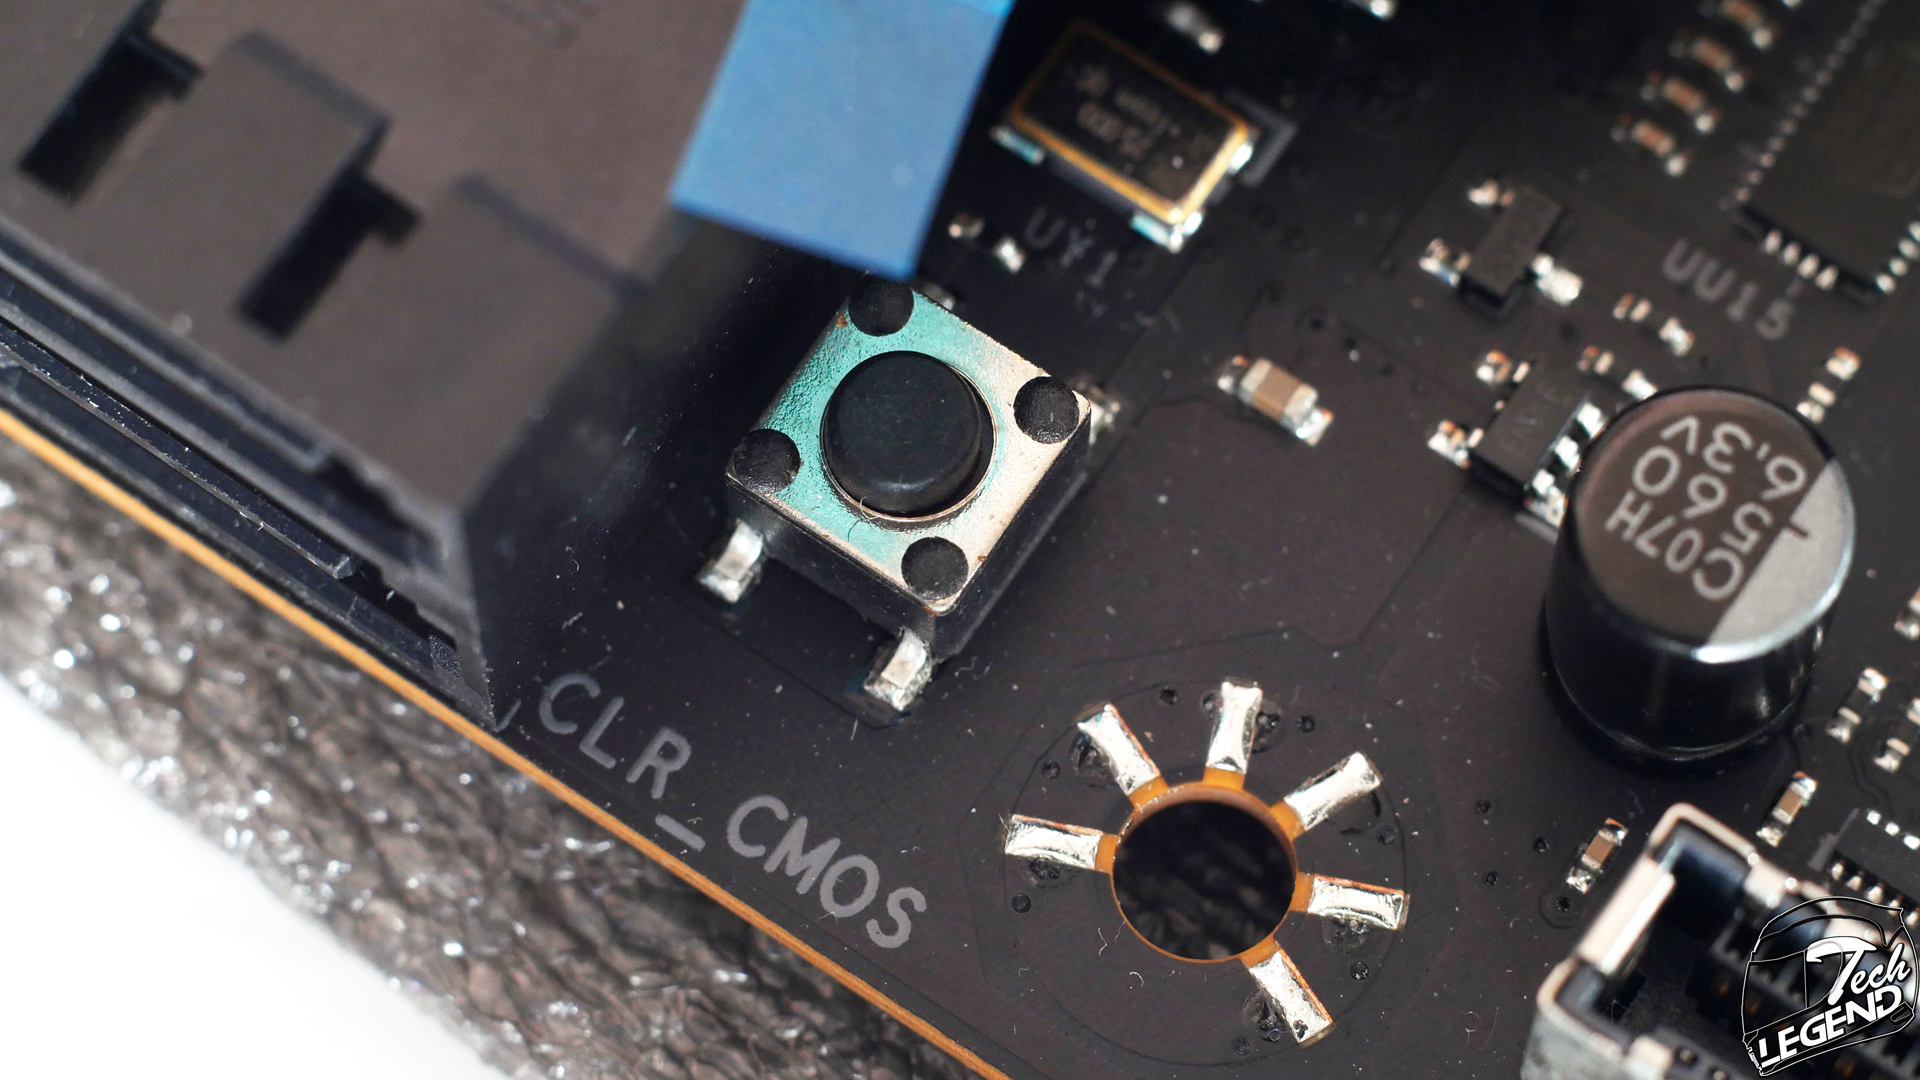
The bios reset switch is installed on the PCB of the motherboard and not on the back around the I/O panel. This is a good thing because while having the Bios switch on the I/O panel is convenient, it is also dangerous because other people might press it by mistake.
On the backside, we have the I/O panel.
The I/O panel is as follows (from left to right):
– 2x WIFI Antenna Port
– 1x HDMI Port (HDMI2.1)
– 1x DP Port (DP1.4)
– 1x USB 3.2 (Gen2x2) Type-C Port
– 1x USB 3.2 (Gen2) Type-C Port with DP
– 6x USB 3.2 (Gen2) Port
– 1x 2.5 Gigabit LAN port
– 5x Audio Jack
– 1x SPDIF_Out
– 1x SMART BIOS UPDATE Button
– 1x SMART BIOS USB Port