Testing
Removing the shell of the mouse is done in two stages. First, the three Teflon skates need to be removed, afterwards, a total of four screws need to be removed. The PCB is red and attached to the underside of the mouse by a few plastic clips.


The main processing unit featured in the DM1 S2 is the Holtek HT68F8560 micro controller. This chip is responsible for the onboard memory and the storage of the the DPI profiles and all macro settings. Unfortunately, while this micro controller has been used in plenty of other gaming mice, its technical specifications are still unknown.

The cable is attached to the PCB through a single 4 Pin plastic connector. This means that the cable itself can be replaced or modified with ease.

The software of the DM1 S2 is pretty simple and quite fast in terms of responsiveness. The first page allows you to change the function of each button of the mouse. You can also select which profile is active or which profile you are customizing at the moment. The rest of the pages allows the user to customize the RGB lightning and adjust the level of the DPI and the acceleration. At the bottom, the pooling rate can be adjusted as well. The last page present in this software deals with the Macro functionality.


The RGB elements used on the DM1 S2 are found within the scroll wheel and the Dream Machines logo at the back. In total, the mouse has two RGB LEDs which can be configured through the included software.

The performance testing is done using the Mouse Tester software and also a basic MS Paint draw test. Additional testing is done by using the reviewed mouse as the daily mouse, for more than a few weeks. The last part of the test is focusing on the gaming performance of the mouse, using the following games:
– Tom Clancy’s The Division 2
– Grand Theft Auto V
– Tom Clancy’s Rainbow Six Siege
– Shadow of the Tomb Raider
– Metro Exodus
– The Witcher 3: Wild Hunt
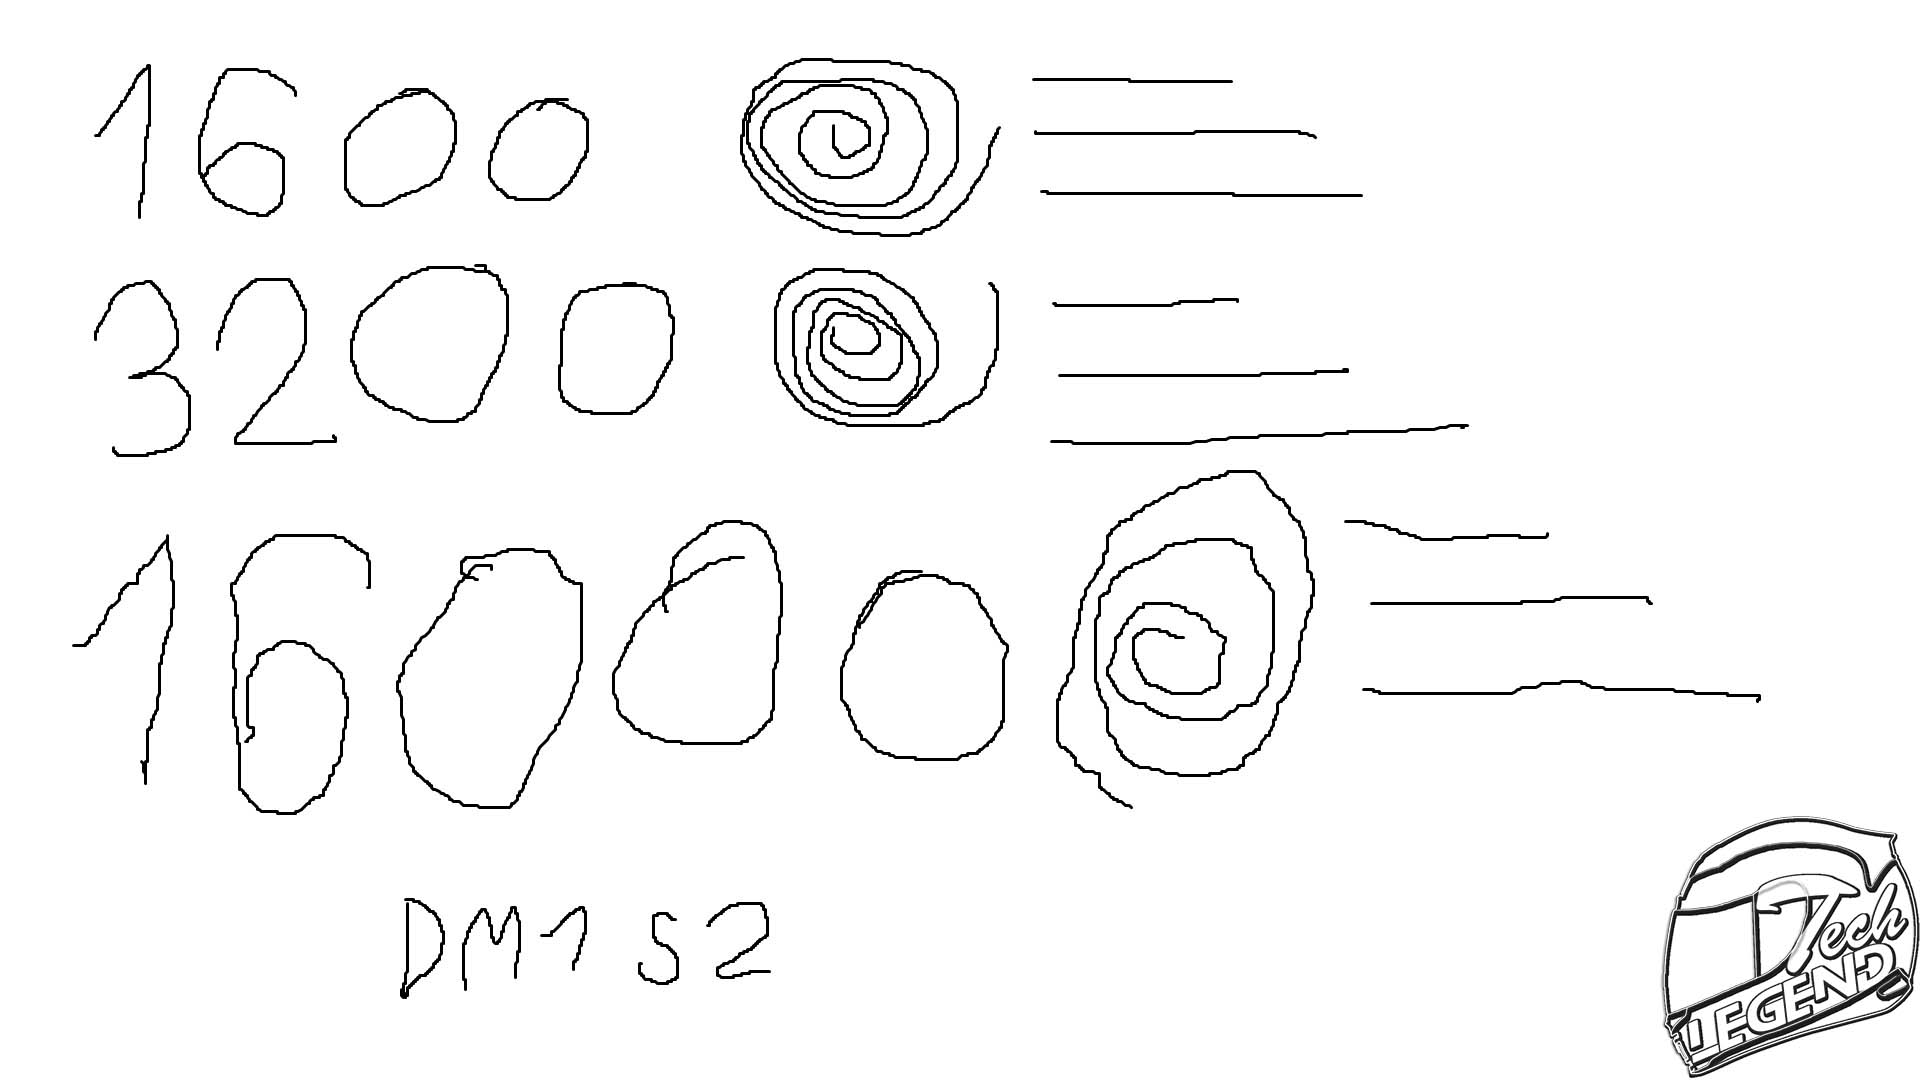
The MS paint test is done at different DPI settings; this will indicate any issues with the tracking of the sensor. As you can see, everything works as expected within those DPI values.
The Mouse Tester software is used to test the performance of the sensor in different situations. Using the Velocity test, we can see the tracking performance of the sensor based on the speed the mouse moves on a surface, the lower the spread the better the tracking is.

The second benchmark involves the Count test which is used to measure the sensor lag with the mouse running in 400DPI mode. The less lag the sensor has, the better the overall performance is.

Final thoughts
The Dream Machines DM1 S2 is a good gaming mouse that is a worthy successor for the DM1 Pro S model. The main improvement over the previous model is the PixArt PMW 3360 optical sensor and the usage of a improved, lightweight shoelace cable. The build quality is very good, the shell has little flex and the rubberized surface is applied evenly.
The Huano blue switches offer a good tactile feedback, while the MWK switches used on the side buttons do their job.
The performance of the mouse is very good, the optical sensor has good tracking on most surfaces.
However, there are some drawbacks, first of all that rubberized coating will stain, it is not a question of if, but when and how. Second of all, the side buttons could have been a bit better, the glossy texture is nice for the most part, but some additional reinforcement could have added some stiffness and improved the overall tactile feedback.
In conclusion, the Dream Machines DM1 S2 is a good gaming mouse, that offers a great performance and has a solid construction. The price of around 30 USD or EUR makes the DM1 S2 a great option to consider, especially if the minimal usage of RGB is not a concern.